
Homemade Garaetteok (떡볶이 Rice Cakes) – Digestion-Friendly, Soaked & Soured
Homemade Garaetteok (떡볶이 Rice Cakes) — a gut-friendly, soaked & soured recipe for healing
With recipes like this one, we’re elevating the diet from “simply a source of calories” to “gene-silencing technology”.
“Understanding the impact of an anti-inflammatory diet on silent inflammation can elevate the diet from simply a source of calories to being on the cutting edge of gene-silencing technology.”
With this recipe, we’re exchanging empty carbs that spike blood sugar & deplete minerals— for a versatile staple that nourishes, lowers inflammation, and supports gut/skin health.
I love providing my clients & family with healing food…
That’s why I finally
made my own garaetteok/rice cake recipe using organic white rice,
soaked and soured the rice for better nutrient absorption + to stop mineral loss, and
used unrefined coconut oil for anti-inflammatory effects and blood-sugar balance.
— and here are the exact ingredients I use —
because when you’re cooking for those who need gut health support, ingredient sourcing matters.
Ingredients (Makes ~2–3 servings)
200 g (≈1 cup) Organic short-grain white rice
120 ml (½ cup) hot filtered water (plus 1–2 tbsp more if needed)
¼ tsp quality sea salt
1 tsp raw apple cider vinegar or lemon (optional, but highly recommended for soaking)
Neutral oil (my recommendation: unrefined coconut oil) for kneading
Ingredient choices I recommend
Lundberg organic white sushi rice — less likely to have pesticide residues vs conventionally grown rice; they rotate grains for arsenic safety so in addition to minimized pesticide residues they’ve also reduced the chance of heavy-metal contamination in their rice. Ocean’s Halo is also a brand that has worked well with my recipe!
(unrefined) Coconut oil — the anti-inflammatory factor is a huge reason I choose coconut oil for this recipe as it is associated with eczema (Source). I also love that adding this healthy fat to slow post-meal glucose rise so mood, hormones, and immune system also stay in balance.
Step 1. Rinse the Rice Well
Place rice in a glass container and cover with filtered water.
Rinse 4–5 times, stirring with your hand, until water runs mostly clear.
This removes surface starch and impurities.
Step 2. Soak & Sour for Digestive Benefits
Cover the rinsed rice with 2–3 cm of filtered water in a glass container.
Add 1 tsp raw apple cider vinegar or lemon if tolerated—this reduces phytic acid.
Soak at room temperature 6–8 hours (shorter, 4–6 hours if your kitchen is warm/you’re managing histamine issues).
⚠️ Histamine tip: If you or yours is sensitive, keep the soak ≤6 hours and rinse very thoroughly afterward.
Step 3. Drain, Rinse & Dry
Drain rice and rinse well until there’s no vinegar/fermented smell.
Spread rice on a clean cotton towel and pat gently to remove excess water (leave on towel for ~20min)
Step 4. Blend to Flour
Transfer the dried rice to a high-speed blender (I prefer this Vitamix).
Blend in small batches (1 cup at a time if doing a large batch) until super fine. Let it settle before opening.
Sift/Push through a fine sieve for a silky flour. Reblend coarse bits.
Step 5. Make the Dough
In a bowl, combine sieved rice flour with ¼ tsp salt.
Slowly add 100 ml hot water, stirring with chopsticks or flat spatula.
Add up to 20 ml more, 1 TBSP at a time, until the dough is soft, sticky, and holds together.
Dough should be like Play-Doh—not crumbly, and certainly not runny like pancake batter...
TIPS
Do a Pinch Test: Roll a small ball. If it’s smooth without cracks, hydration is just right.
Always add boiling/hot water—this gelatinizes starch for that amazingly chewy bite.
Step 6. Steam
Transfer dough to a heat-safe bowl (ex: ceramic).
Cover with non-toxic parchment. (prevents steam water from dripping into the rice cake)
Get ~2 inches of water to simmer until steam is steady.
Carefully place the covered bowl inside the steamer basket of the pot of simmering water.
Cover the pot and steam for 25–30 minutes at a gentle simmer.
Step 7. Pound & Knead
Generously oil your work surface (unrefined coconut oil recommended for health benefits).
While still hot, pound well or knead dough for ~7 minutes until smooth, elastic, and bouncy.
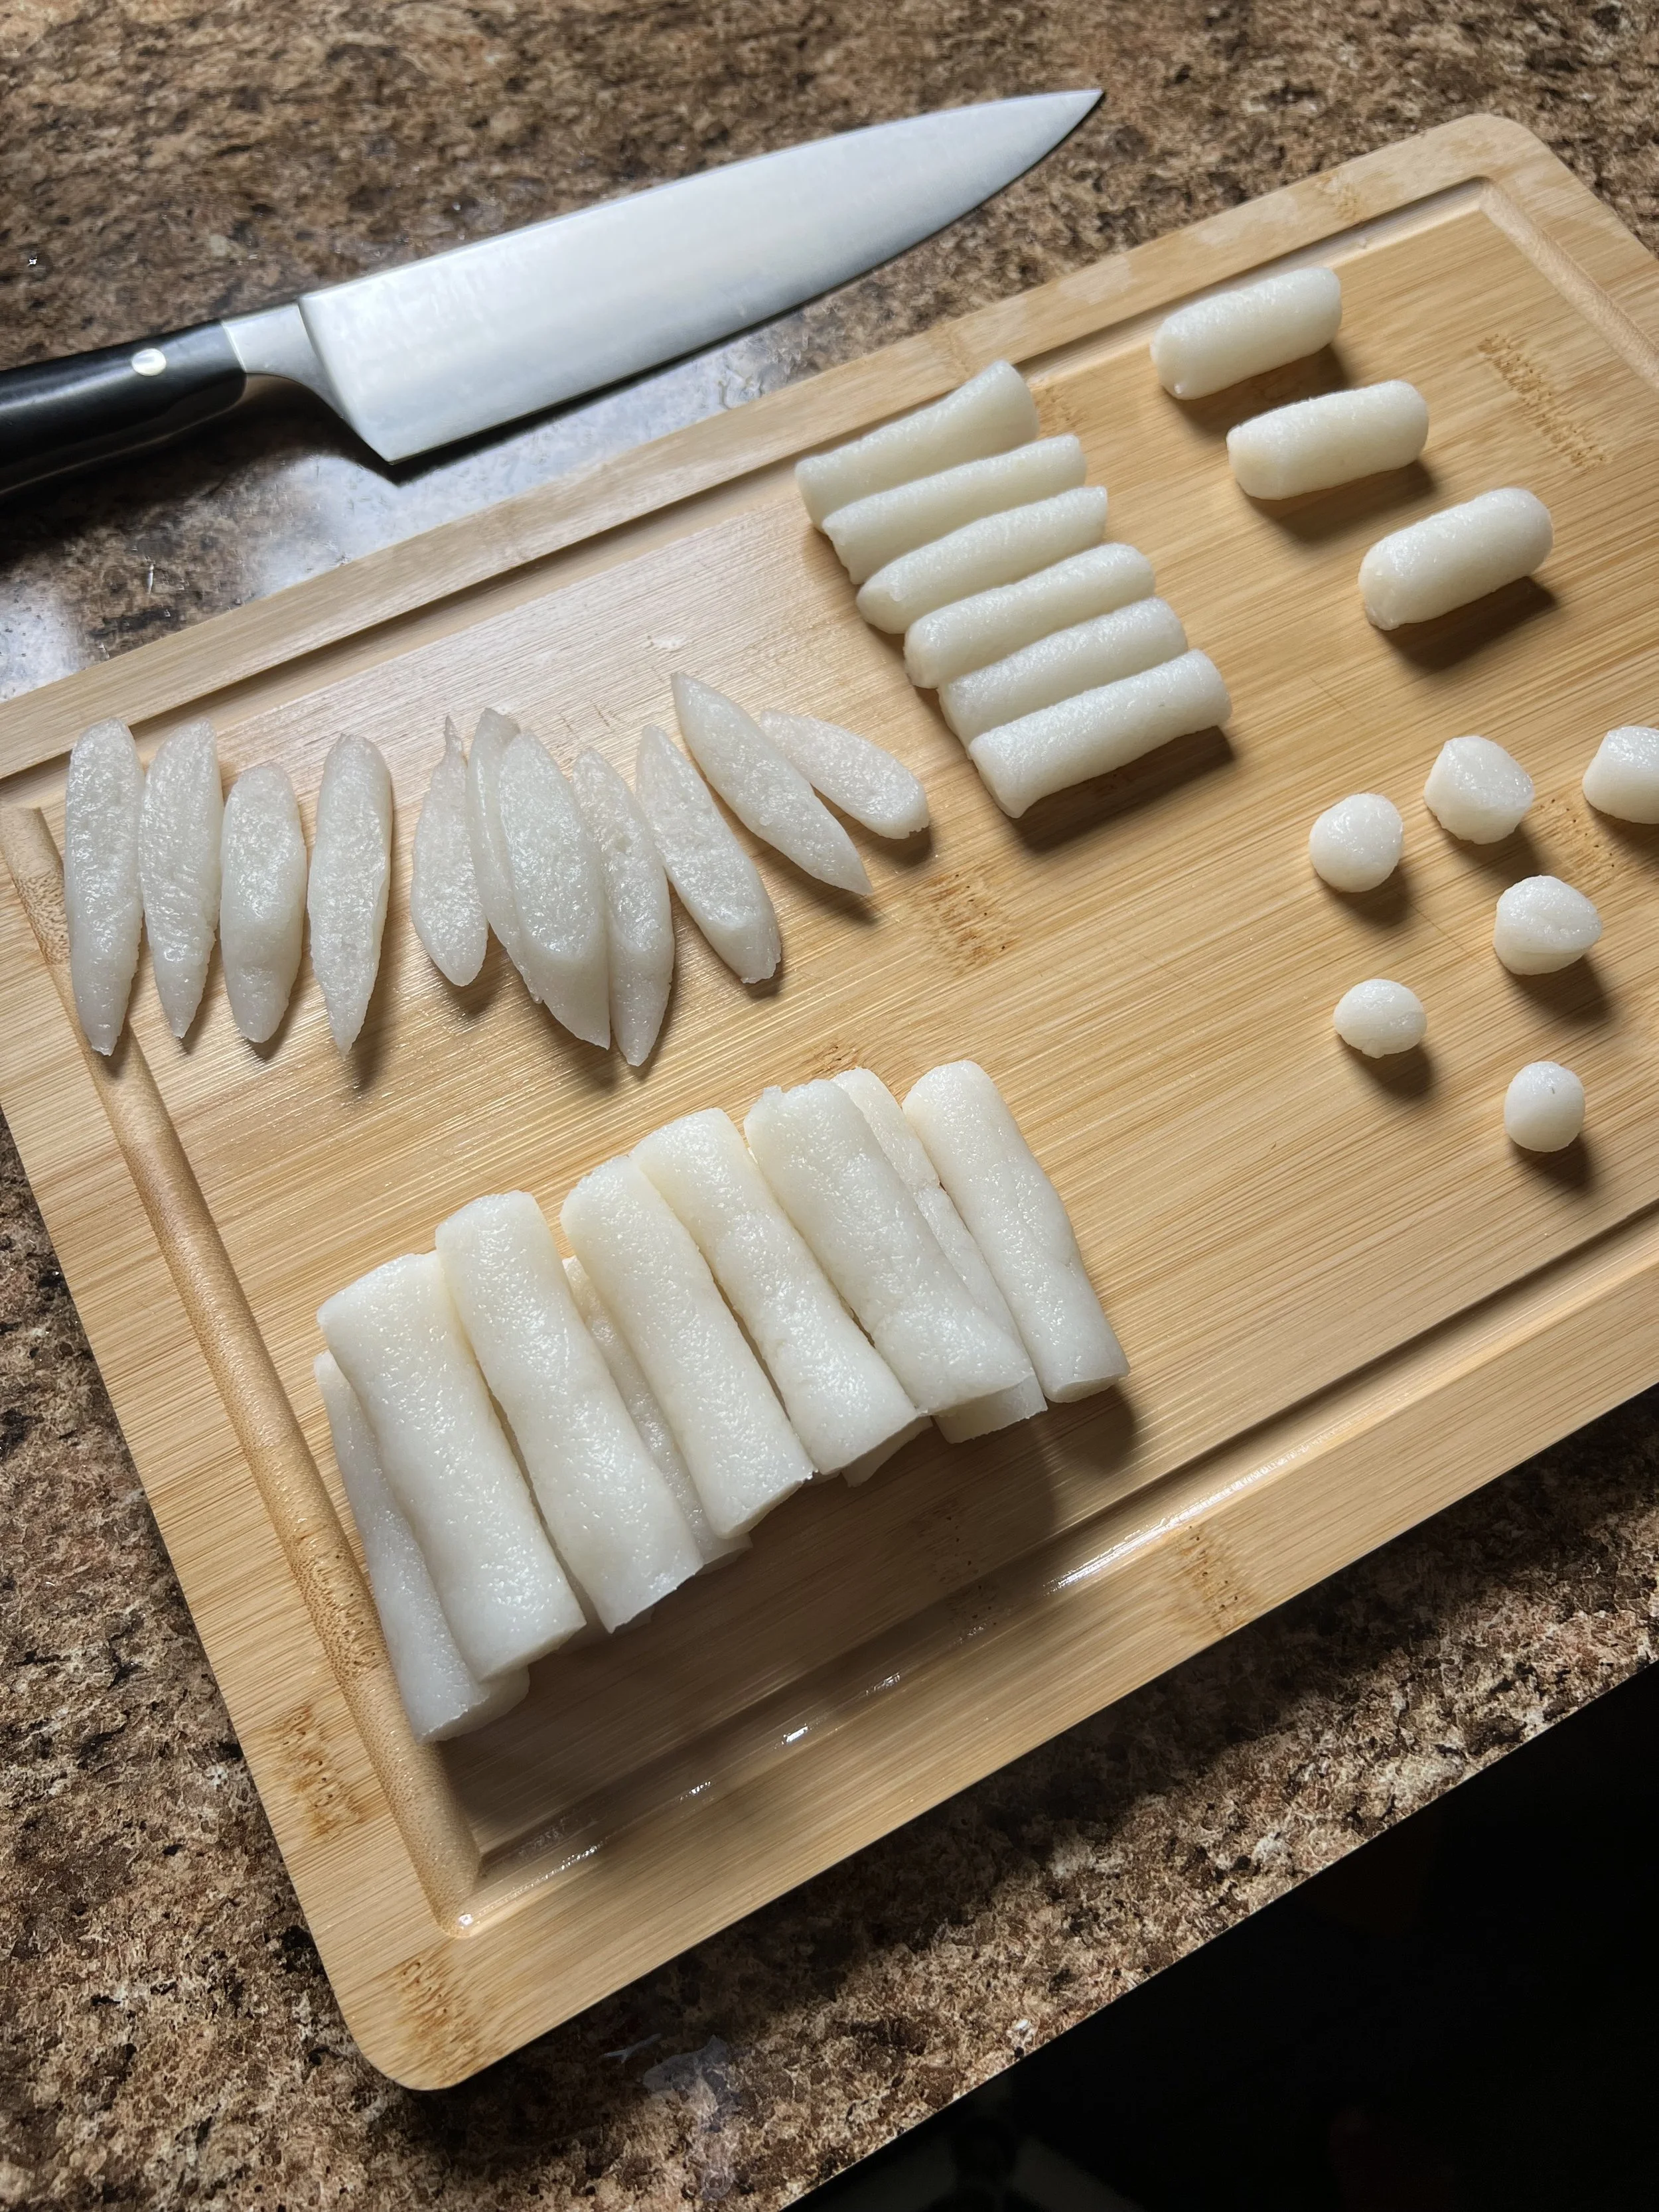
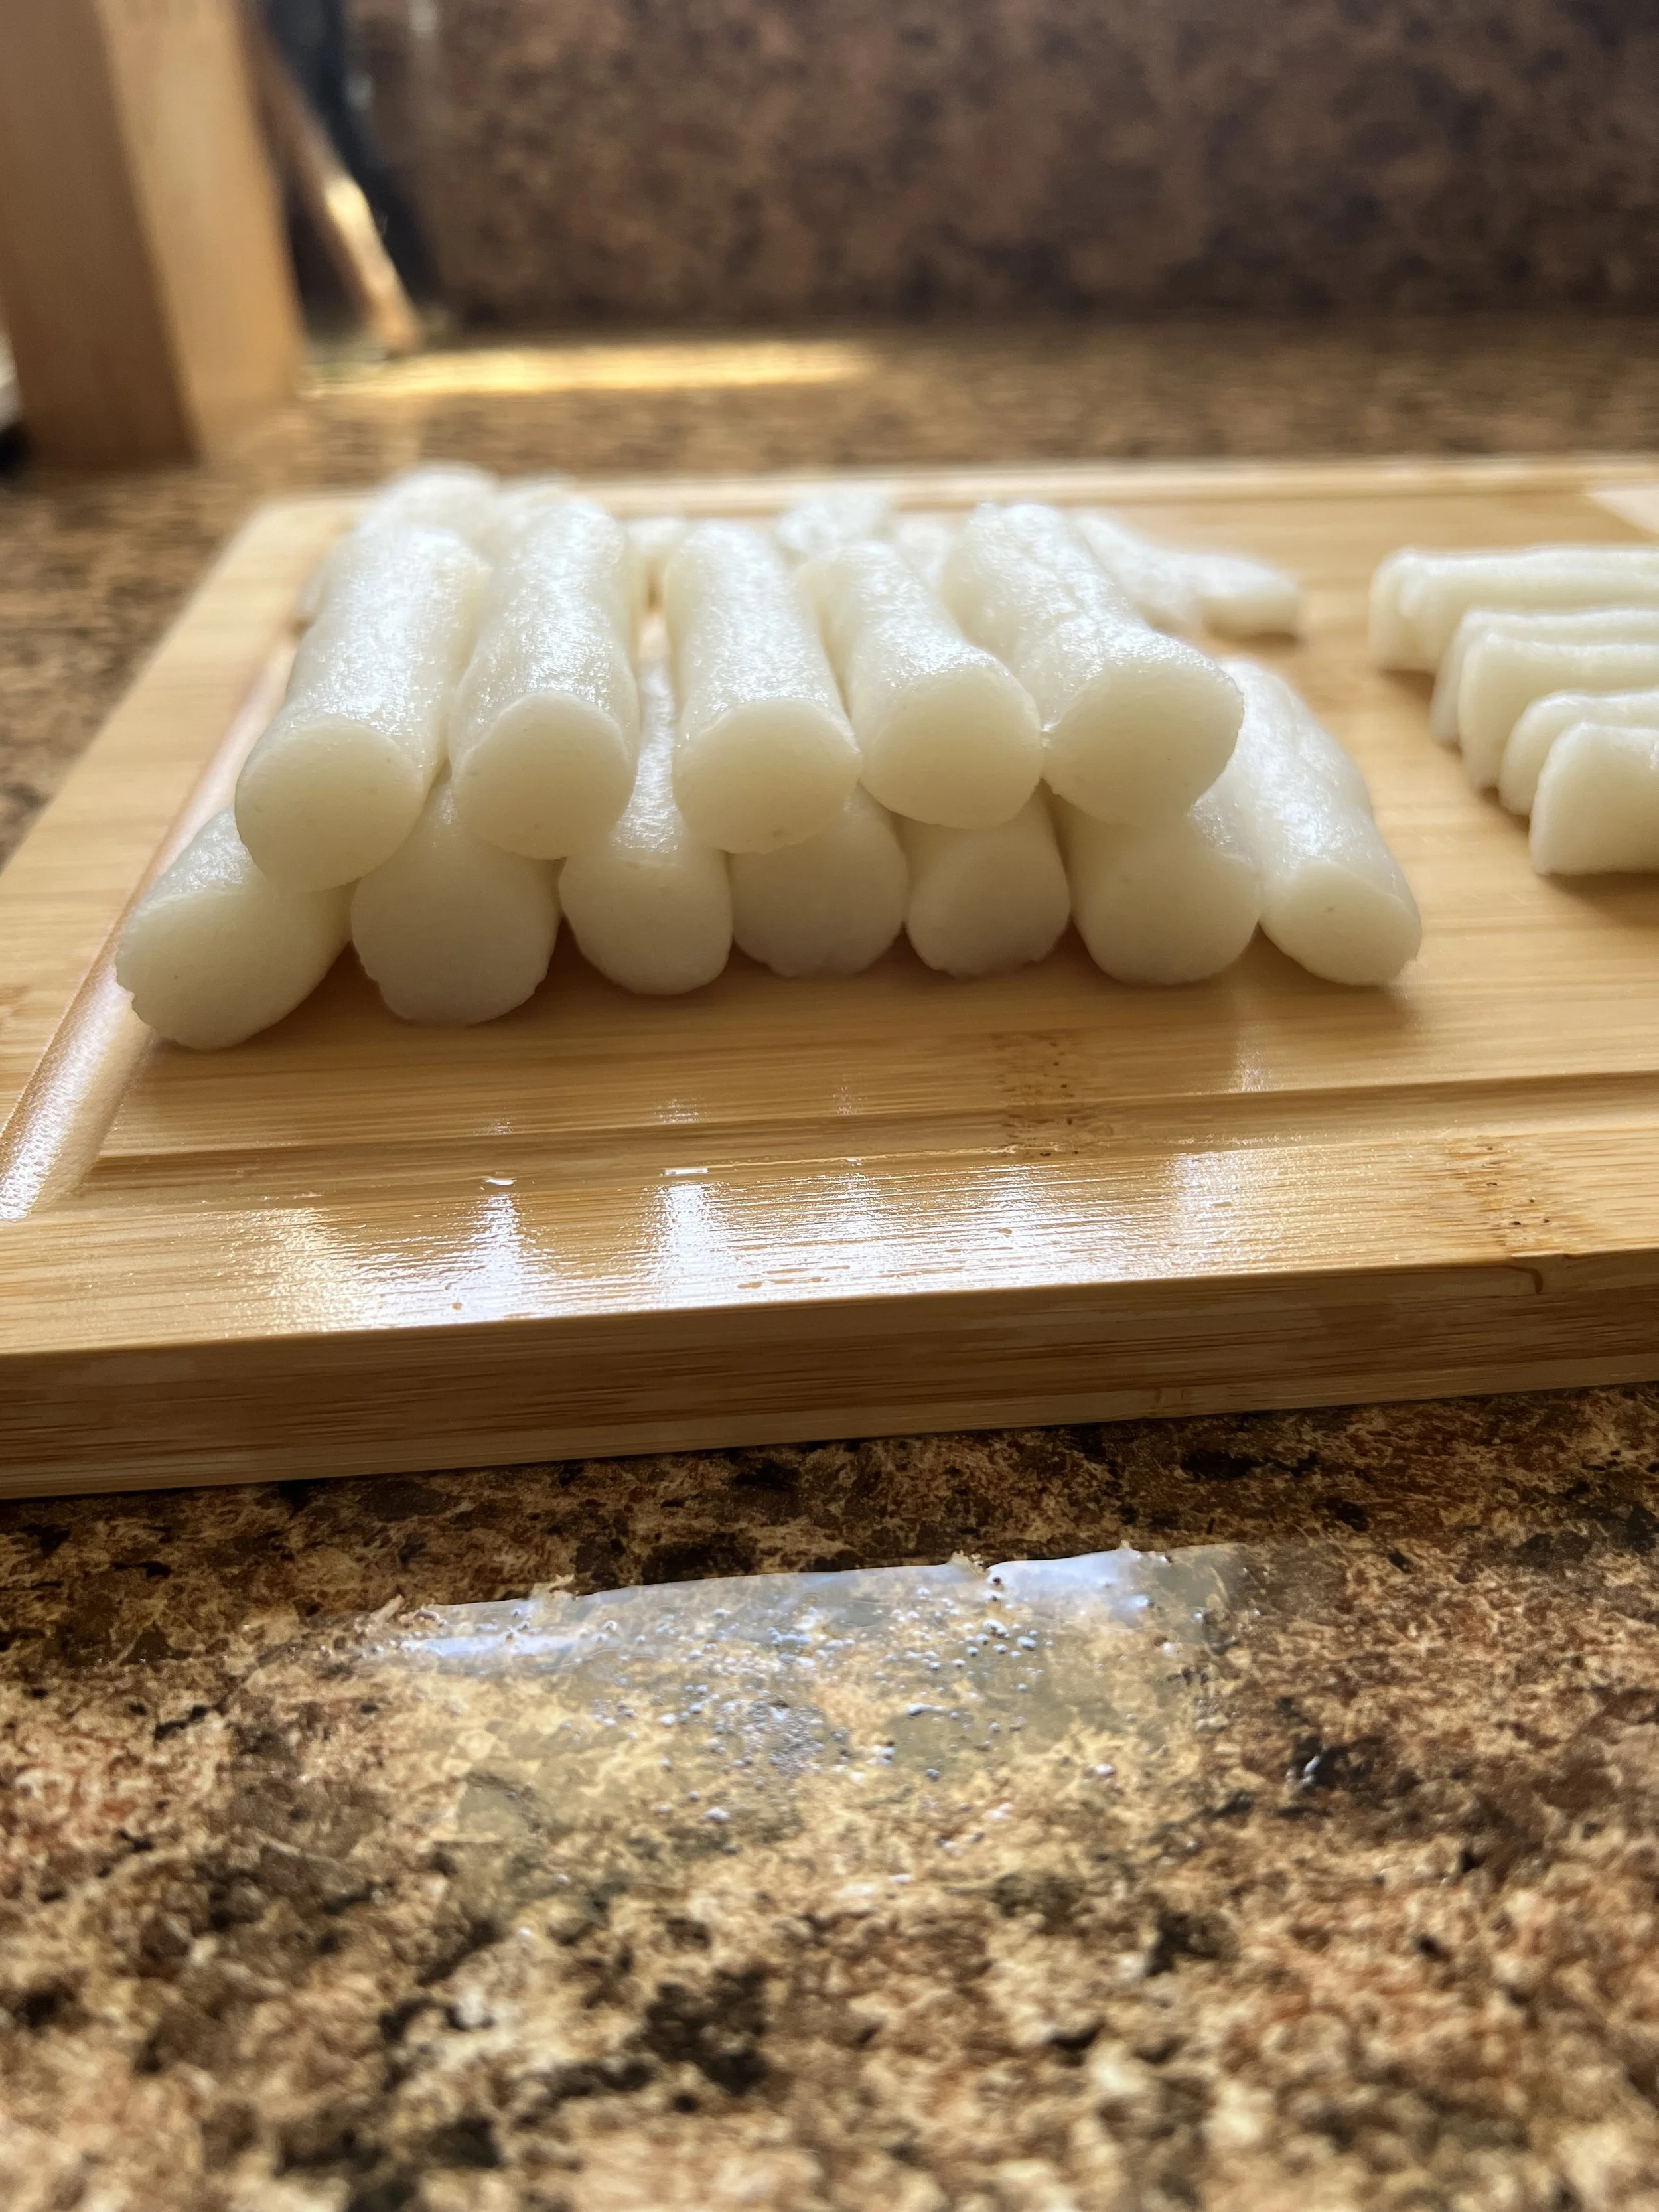
Step 8. Shape & Chop the Rice Cakes
Roll dough into long cylinders about 2 cm thick.
Let cool slightly, then cut into 2-inch pieces.
Troubleshooting: If rice cakes stick to knife, coat knife lightly with oil.
Safe Steaming Tips
Use: stainless steel, heatproof ceramic, or borosilicate glass bowl labeled microwave/steamer safe.
Avoid: standard pyrex with only an oven icon—it may crack under steam.
Why Vitamix Works Best
Blades pull rice evenly for consistent fine flour.
Produces smoother paste = smoother tteok.
Tip: Do 1 cup at a time, ~60 seconds total at high speed - I had to break it apart / scrape down sides between blends.
Notes To Achieve Rice Cake Texture Goals
Pre-Steamed Dough Goals = Play-Doh, not pancake batter.
Chewiness comes from steaming + kneading, not extra water.
Too crumbly → Add hot water 1 tsp at a time.
Too wet → Steam will firm it up, but avoid runny batter.
Why These Homemade Rice Cakes Are a Gut-Healing Upgrade
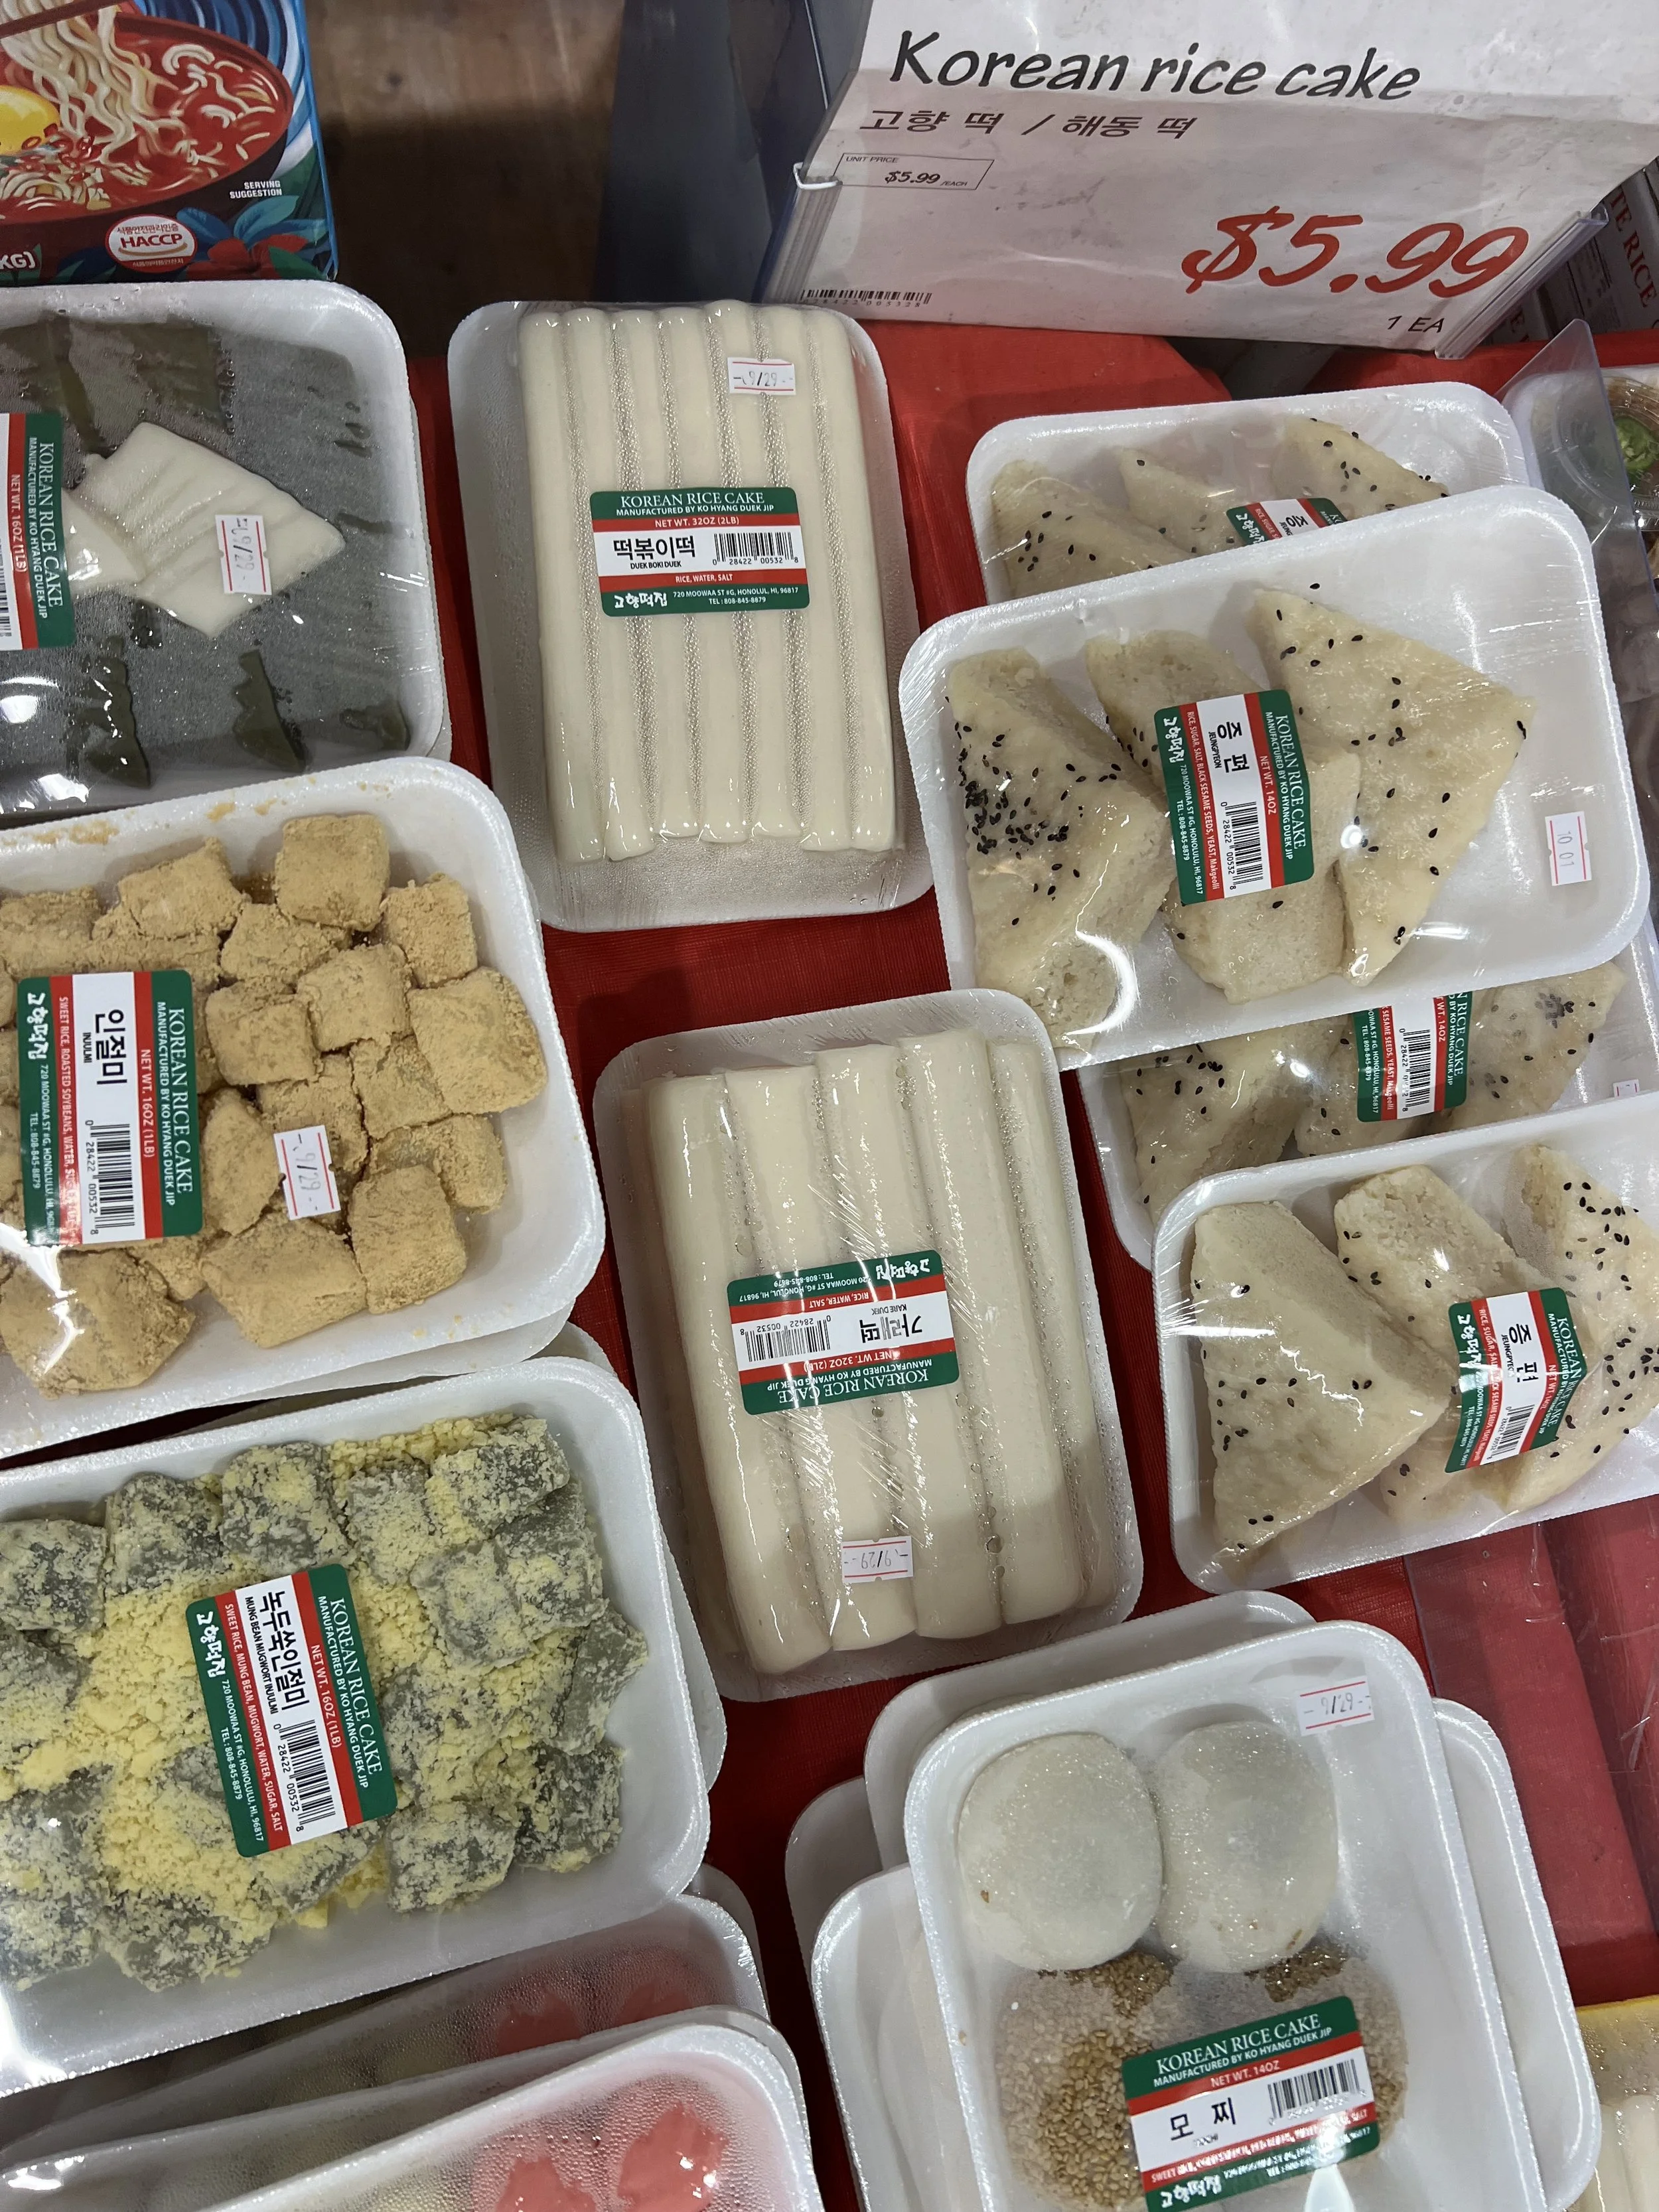
Unlike most store-bought rice cakes
that come with preservatives, food dyes, inaccurate labels, and soak in plastic…
this from-scratch recipe supports your family’s health — starting at the gut.
By soaking and souring the rice, you’re reducing phytic acid, increasing mineral absorption, and making these carbs easier on digestion (especially key for those dealing with eczema, histamine issues, or leaky gut).
Supports gut + skin healing
Balances blood sugar with healthy fats
Uses organic rice to minimize toxins & heavy metals
Plastic-free, preservative-free, mama-made goodness
Freezes well (up to 3–4 months). When it cools, it gets even healthier.
Make It Once, Use It Often:
tteokbokki (spicy rice cakes)
tteokkochi (grilled skewers)
tteokguk (New Year soup)
Pan-fried, stir-fried, broth-based — however your family loves it
How I reheat from frozen: run it under filtered water & air fry at 350F for 15min
(it always comes out GOLDEN & crispy on the outside + soft & chewy on the inside)
🌿 Final Words
When you're cooking for kids with eczema, gut struggles, or immune imbalances, the way you prepare food matters.
it isn’t just a Korean rice cake recipe —
it’s healing food your future self will thank you for.
FAQ aka “People Also Ask”
Can I freeze homemade garaetteok?
Yes — homemade garaetteok freezes very well for up to 3–4 months. After shaping and cooling the rice cakes, lay them flat on a parchment-lined tray to freeze individually. Once frozen, transfer to an airtight glass container or silicone bag.
📌 Pro tip:
When reheating, run under filtered water & air fry @350F for 15min for a crisp exterior & chewy interior OR steam/boil directly from frozen for best texture. Avoid the microwave as it can dry them out & make them SUPER inedibly hard.
What kind of rice is best for this recipe? Does sushi rice work? What about basmati?
The best rice for garaetteok is short-grain white rice, often labeled “sweet rice” or “glutinous rice” (though it’s naturally gluten-free). In the U.S., brands like Lundberg Organic White Rice or mochi rice work beautifully.
🍚 Sushi rice: This can work (worked for me!) — it's short-grain and sticky.
❌ Basmati, jasmine, or long-grain rice: I would not recommend — they are too dry and lack the stickiness needed for the classic rice cake texture we’re going for here!
Why soak rice before making rice cakes?
Soaking (and souring with a bit of lemon juice or apple cider vinegar) improves both digestibility and nutrient bioavailability.
Here's why this important step matters:
🌾 Reduces phytic acid, which can block the absorption of minerals like calcium, iron, and magnesium & even steal these minerals from the body :c
💪 Supports gut health, especially for kids or families dealing with eczema, allergies, or inflammation - this is something that needs to be done with every bite.
🍽️ Pre-digests the starches, making them easier on sensitive digestive systems - very helpful for those who are in the healing phase or dealing with a flare up.
✨ Results in a softer, more pliable dough — for that classic, chewy, bouncy tteok texture.
This is the food-as-medicine version of Korean rice cakes — intentionally made to support healing.
God Bless!
📌 Save this post, share it with a friend, and follow me on Instagram @mumwithabun_nutrition for more gut-healing, eczema-supportive recipes rooted in tradition and made for modern families.
AFFILIATE NOTE
Some links are affiliate links that provide commission, which help me keep this page running. Thank you for your support ♡