
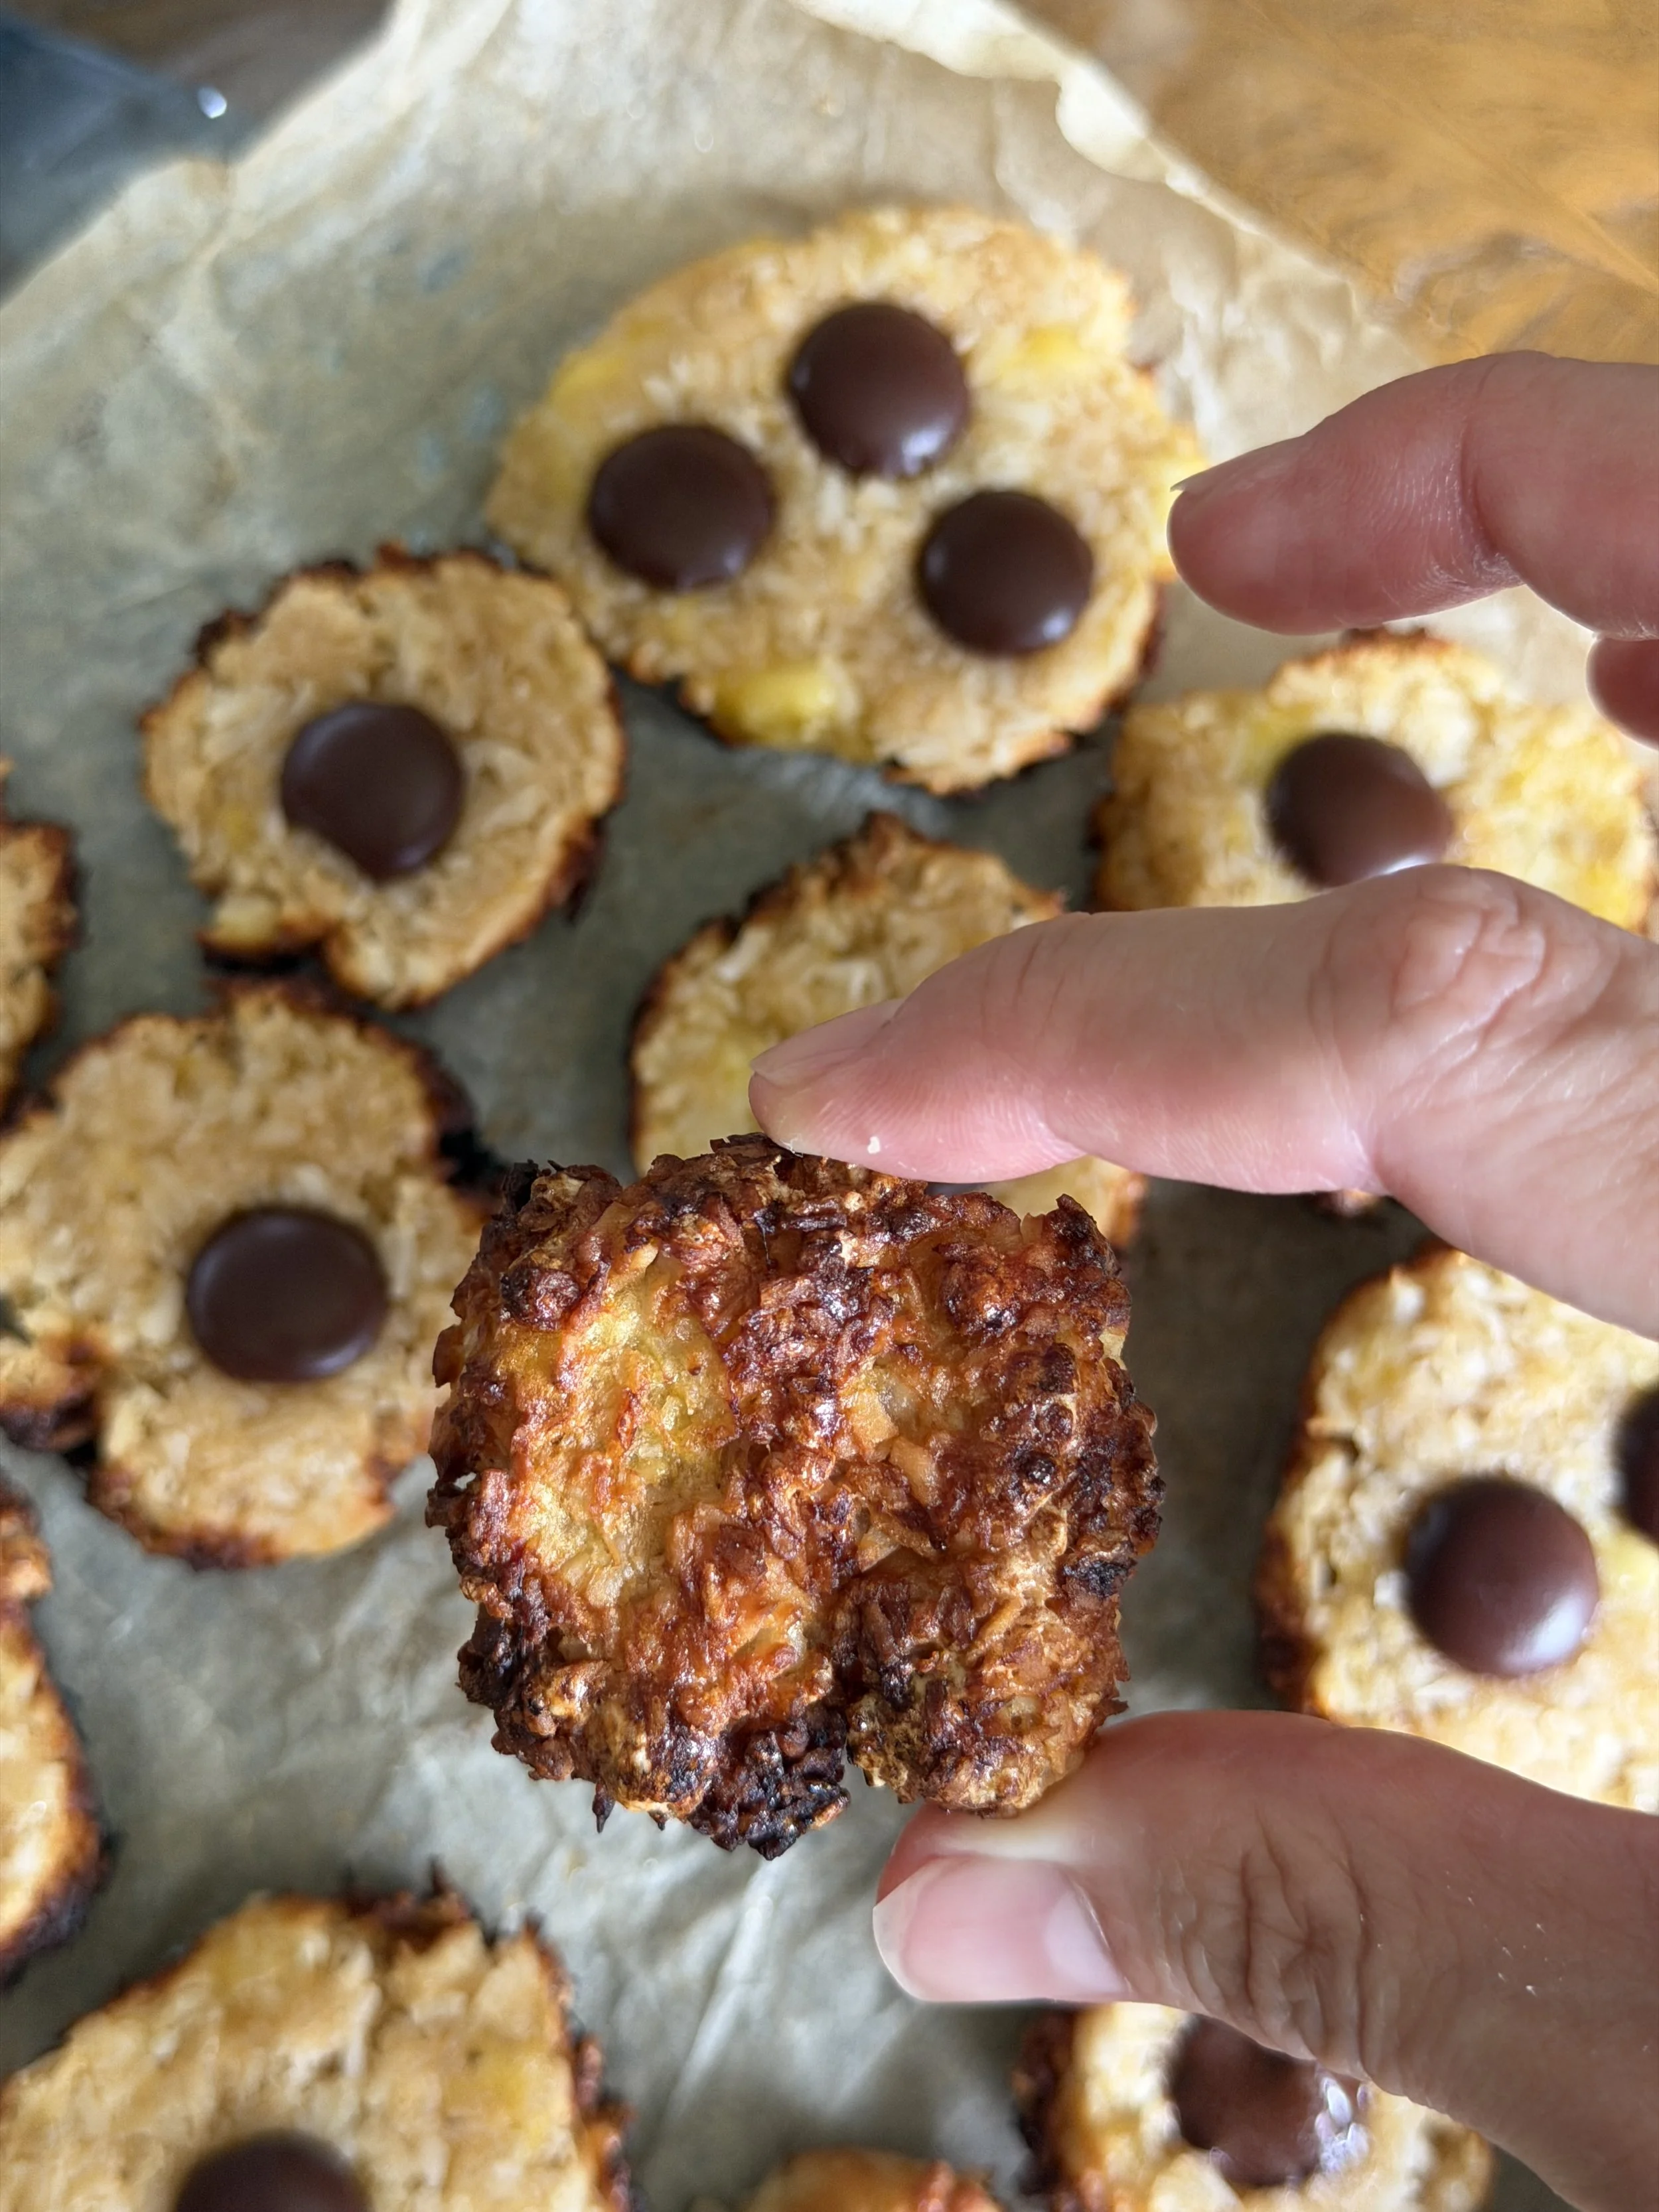
Crispy Coconut Cookies (Samoa-Inspired)
A simple, nourishing twist on classic coconut cookies—crispy, golden, and naturally sweetened with banana. These 3-ingredient cookies are packed with protein and gut-healing benefits, making them a perfect family-friendly treat.

Soft French Omelette with Cheese (Beginner Friendly)
A soft, buttery French omelette that’s simple, nutrient-dense, and rich in choline—perfect for supporting brain health, hormone balance, and a nourishing daily breakfast.
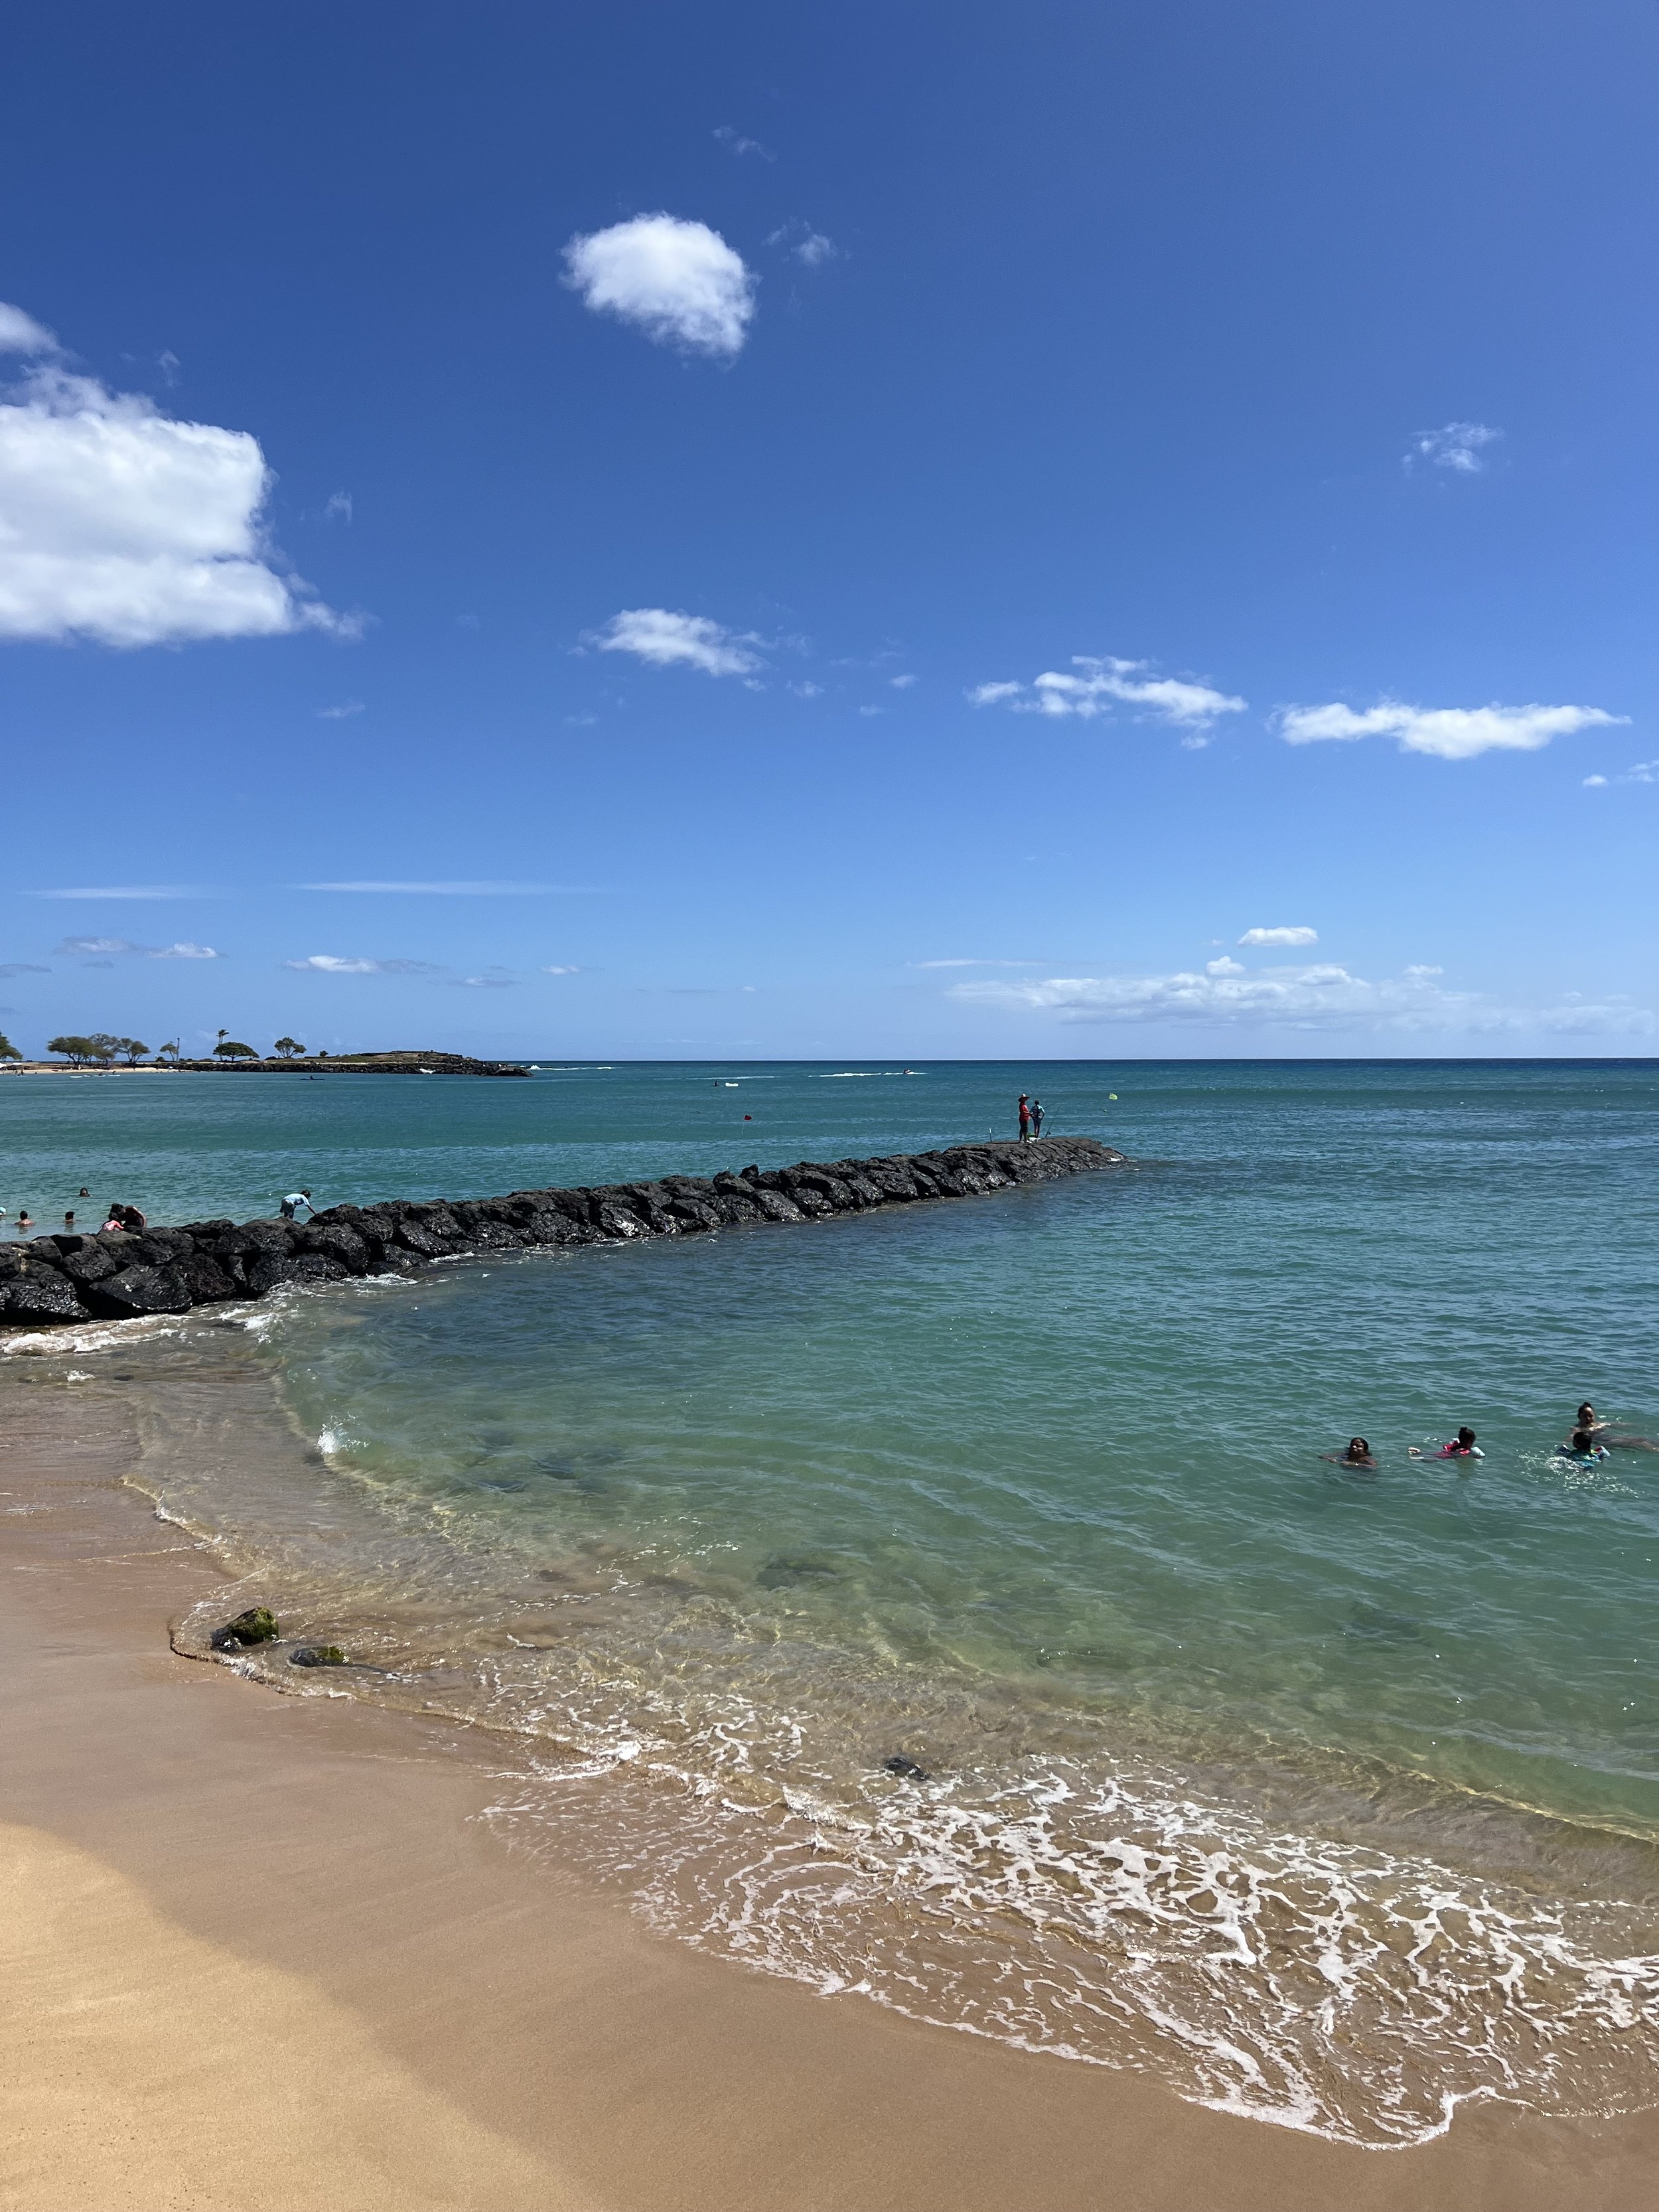
Our Favorite Allergy-Friendly Small Businesses on Oʻahu’s North Shore + Community Recommendations (And Why They Need Your Support Right Now)
The North Shore of Oʻahu is known for its beauty, surf, and small-town charm—but behind the scenes, many local businesses are still recovering from the devastating Kona low storms and flooding.
For a while, visitors stayed away out of respect. But now, that absence is being felt deeply.
These businesses don’t just need support—they deserve it.
As an allergy family, finding safe places to eat isn’t easy. These five businesses have gone above and beyond for us time and time again… and what they’ve done for their community in the aftermath of the floods makes supporting them even more meaningful.