
Gut-Healthy Korean Tangerine Mochi (찹쌀떡) with Fresh Jeju Tangerine Juice – No Sugar, Naturally Nourishing
Naturally orange Korean mochi made with fresh unpasteurized Jeju tangerine juice — no dyes, no refined sugar.
If you’re looking for a gut-friendly Korean dessert that’s soft, chewy, gut/skin-supporting, and naturally sweet without adding any refined sugar, this Korean Tangerine Mochi is the perfect whole-food treat.
My recipe highlights KimC Fresh Squeezed Jeju Tangerine Juice, made by Nenia, one of Korea’s most respected clean-ingredient brands known for producing premium school foods and running the Michelin-recognized restaurant (꽃, 밥에 피다).
Unlike typical store-bought juices—which are pasteurized, oxidized, nutrient-stripped, and essentially vitamin-C-void sugar water—This Jeju Tangerine Juice is:
100% Pure Jeju Tangerine
Cold-squeezed
Never sterilized (meaning the vitamin C and enzymes remain intact)
Zero sugar added
Zero additives
Zero concentrates or fillers
This makes it one of the cleanest, most nutrient-dense juices— this is a really cool find for eczema-prone kids who need anti-inflammatory, refined sugar free, vitamin-rich foods (and treats once in a while!)
Combined with coconut cream, soaked & soured mungbeans, and antioxidant-rich tangerines, my Korean-style mochi delivers gentle sweetness, prebiotics, soothing healthy fats, protein, and vitamins that support digestion and skin health.
Why This Version Is Extra Gut-Healthy
1. No Refined Sugar actually sweetened by nature.
Refined sugar feeds inflammation and disrupts gut balance. This recipe relies solely on
the natural sweetness of pure Jeju Tangerine (unheated) Juice, helping regulate digestion and minimize eczema flare triggers.
2. Fresh Unheated Tangerine Juice = Real Vitamin C & Real Color
Most commercial juices are pasteurized at high temperatures—destroying vitamin C, beneficial enzymes, and polyphenols.
This unsterilized Juice Tangerine Juice retains:
naturally occurring vitamin C
bioavailable antioxidants
digestive enzymes
real citrus flavor & vibrancy (no food dyes here)
Perfect for tender tummies and immune support.
3. Coconut Cream = Skin + Gut Supporting Fats
Coconut provides medium-chain triglycerides (MCTs) that are easy on digestion and help support the gut lining—great for sensitive kids.
4. Sweet White Rice = Gentle, Low-Irritant Carbohydrate
Naturally gluten-free and easy to digest, making it a family-friendly dessert.
INGREDIENTS
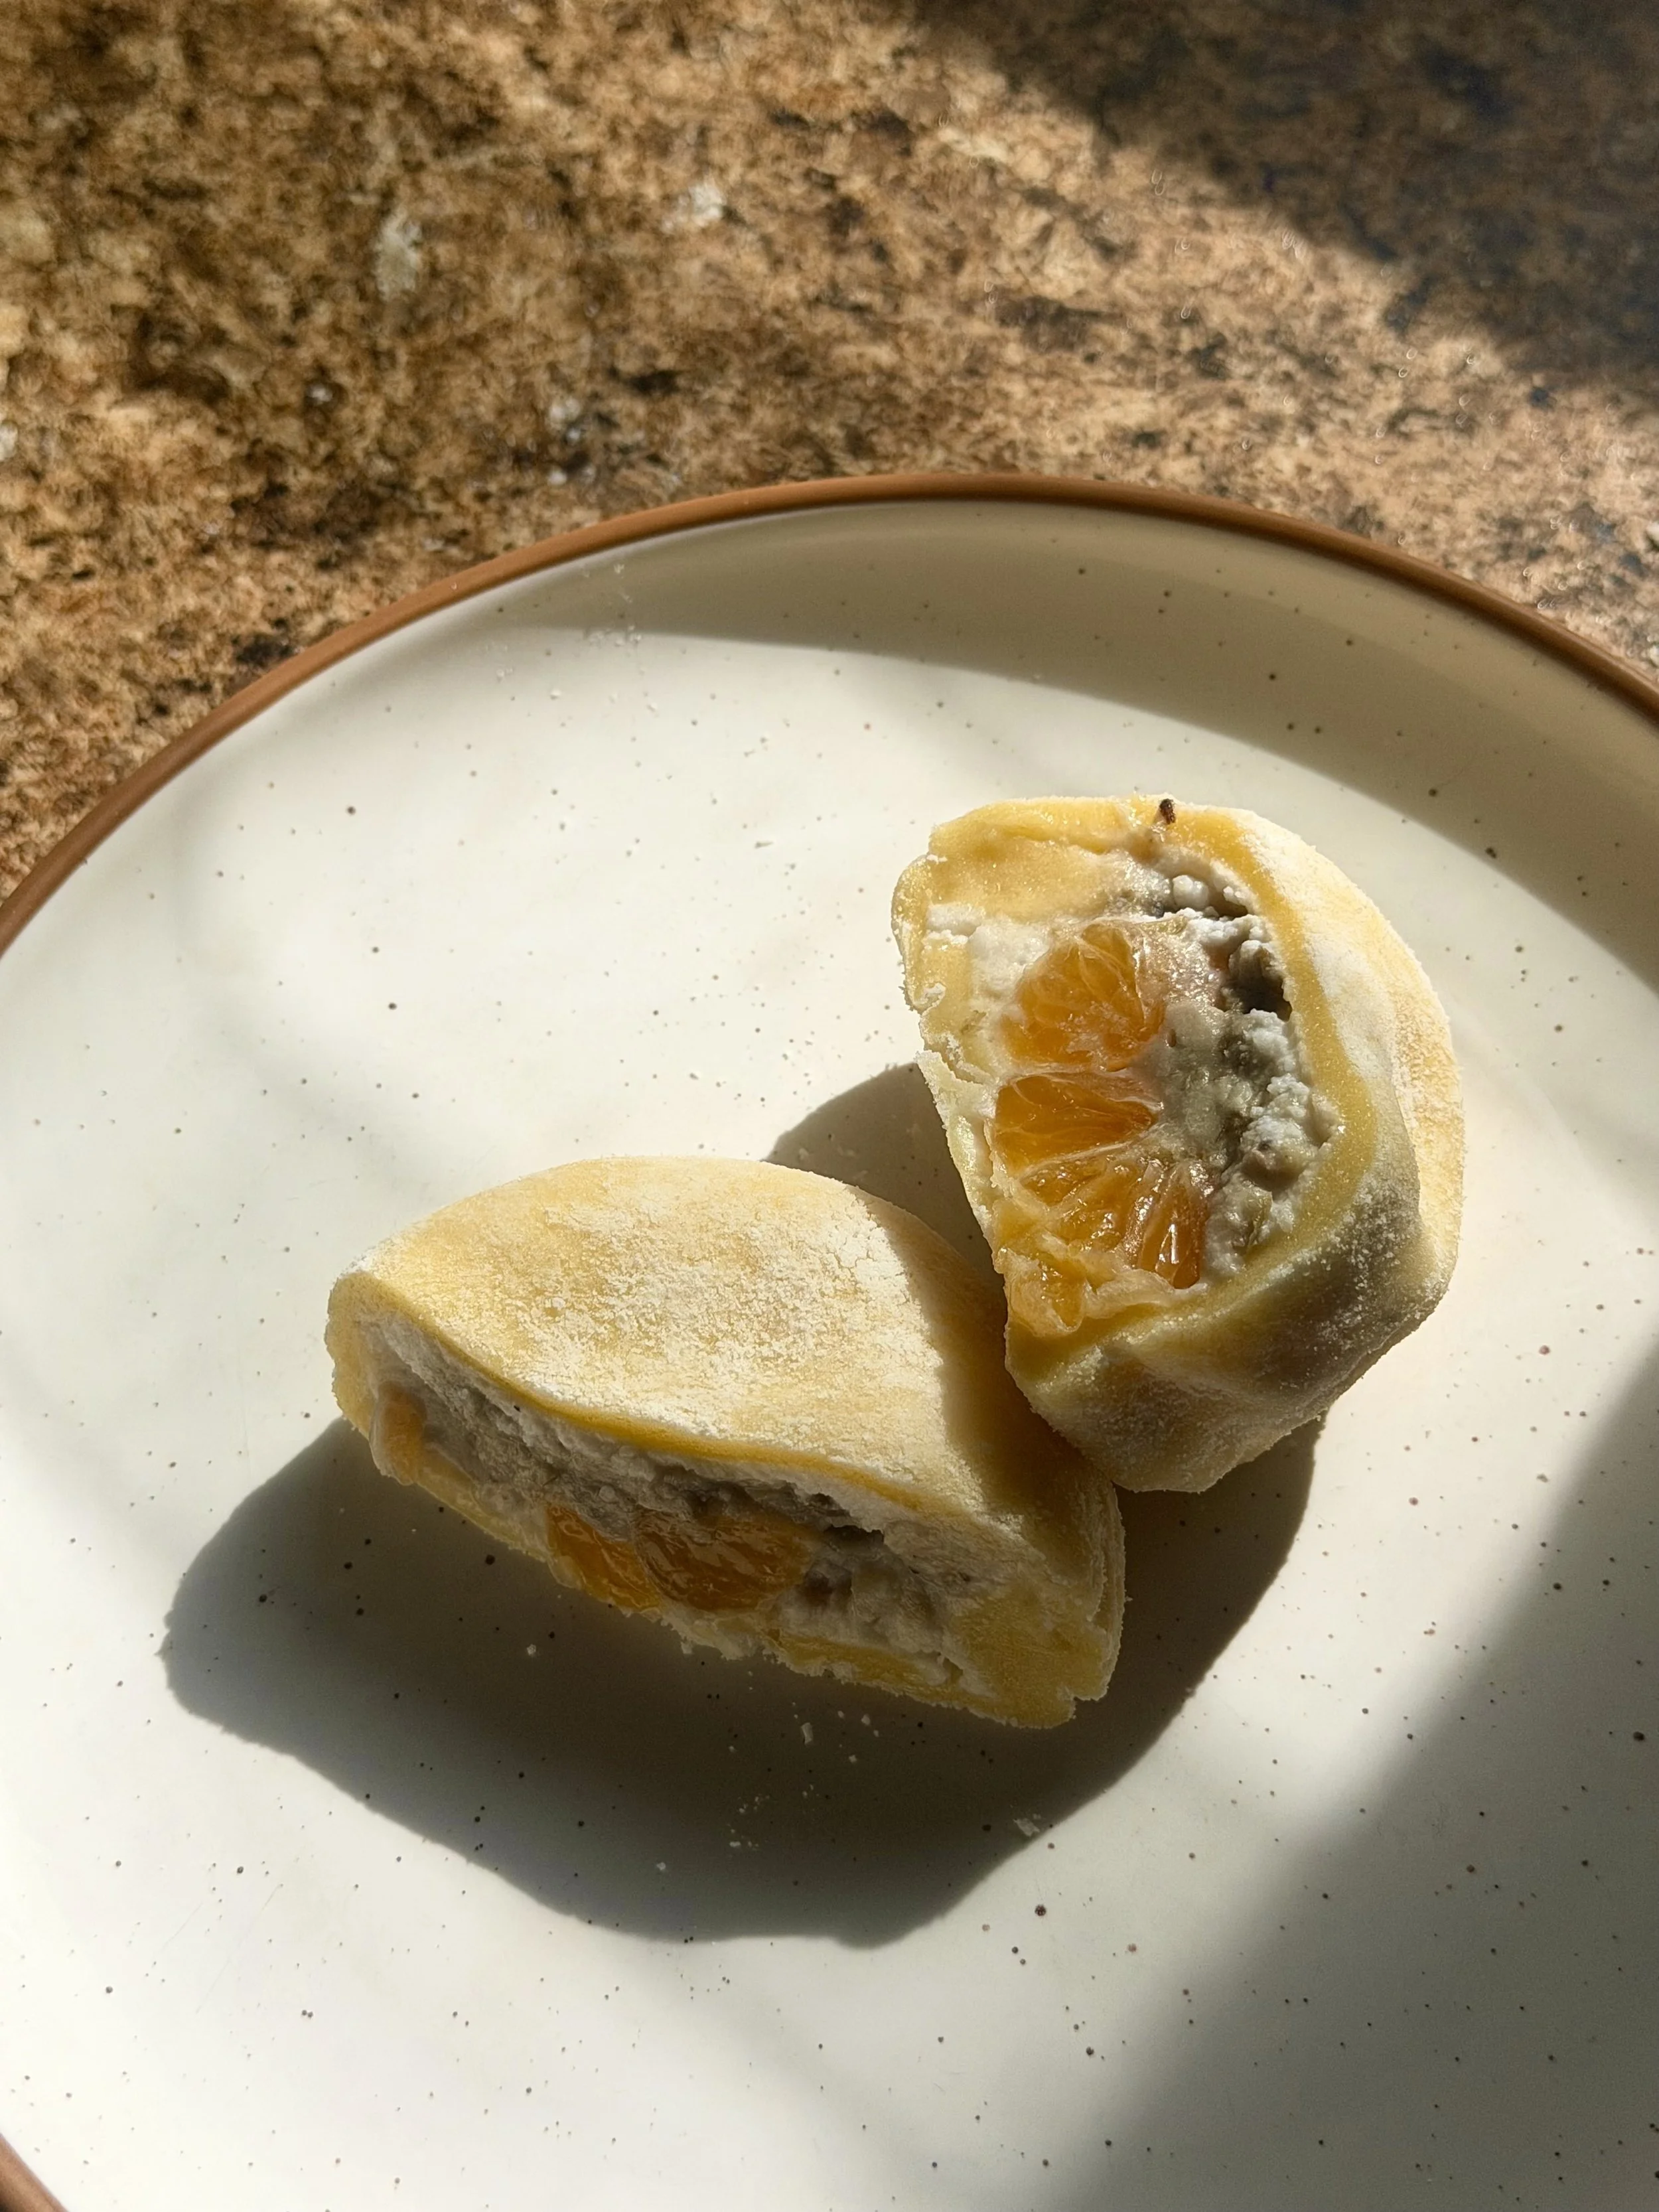
Servings: 2 large mochi filled with sweet red bean paste and fresh, tangy tangerine halves
For the Mochi Wrapper
100 g sweet white rice flour
100 ml KimC Fresh Squeezed Jeju Tangerine Juice (beneficial enzymes & vitamins in tact)
0 g refined sugar (I’m very intentional about this for gut health; sweetness from nature’s candy a.k.a. fruit & honey is the best sweet treat in my humble opinion)
For Dusting
Arrowroot starch – gentle on digestion
For the Filling
1 Can 100% coconut milk, refrigerate overnight — scoop out the top solid cream layer
1 tangerine (½ small tangerine per mochi)
Optional
cooked & mashed mungbeans (I prefer this over adzuki beans, which can cause calcification stones/gout/etc)
METHOD1/2 cup of organic mungbeans soaked & soured over night
rinse well, combine with 1 can of full fat coconut milk, 1cm knob of ginger, and salt)
pressure cook in IP for 15 min
mash cooked mungbeans w/ 1 tbsp Raw organic honey, for a sweet, immune boosting drizzle
METHOD
1. Mix the Mochi Batter
In a bowl, whisk together sweet white rice flour and a pinch of sea salt.
Pour in Fresh Tangerine Juice while stirring continuously until a smooth batter forms.
The color will be a beautiful natural citrus orange.
I love that no sugar/coloring needed— juice is naturally citrus-y/vibrant.
2. Steam the Mochi Dough
*Scroll Down If You Prefer Saucepan Method
Line a heatproof bowl with a sheet of non-toxic parchment paper. More than you think you’ll need because you’ll use it as a lid
Pour the batter in
Seal up / cover your mochi dough with the non-toxic parchment paper.
Steam for 20 minutes on medium heat.
Once translucent and glossy, remove from heat.
Knead, fold, and work the dough inside the parchment paper.
3. Knead the Mochi More
Once warm and safe to touch, lightly oil your hands with
Stretch the dough, fold it, stretch again—repeat until it becomes glossy, smooth, and elastic.
4. Prepare the Work Surface
Dust a board / parchment paper with arrowroot.
Place dough down and dust the top as well.
Place a 2nd sheet of parchment paper on top of the dough (to prevent it from sticking to your rolling pin).
Roll into a 1/8-inch thick sheet, keep thickness even.
Slice mochi sheet in half.
5. Make the Filling
Scoop the solid coconut cream into a cold mixing bowl.
Whip using a whisk or electric mixer until light and fluffy.
Peel fresh tangerine — peel into halves.
Optional: pack smashed sweet beans onto the tangerine’s flat half side.
6. Cut & Fill the Korean Tangerine Mochi
Add a dollop of whipped coconut cream in the center.
Add ½ a tangerine segment per wrapper sheet.
Gather the edges of the mochi wrapper and pinch to seal.
7. Chill Briefly & Serve
Place finished mochis on a tray.
Chill for 10 minutes to make slicing and handling easier.
Slice in half to reveal the beautiful internal layers. Serve chilled.
Soft, creamy, chewy, citrusy-bright treat—with absolutely no refined sugar.
It’s a sweet, chewy, and tangy explosion experience, enhanced with a gut-loving mungbean filling.
*SAUCEPAN METHOD:
Cook Mochi Directly in Saucepan
(For those with no Steamer)
1. Mix the Batter
Whisk the rice flour + pinch of salt.
Add tangerine juice and whisk until perfectly smooth.
2. Cook Mochi on the Stovetop
This replaces the steaming step.
IMPORTANT TIP for enameled cast iron users like myself
Use LOW heat only — enameled cast iron retains heat and burns starch easily.
Use a wooden tool or spatula for constant scraping of the bottom + sides.
Do not walk away: this method only works with continuous stirring.
How to Cook
Pour the batter into your saucepan.
Turn heat to low.
Stir continuously in slow, firm strokes, scraping the entire bottom and edges.
After 5 minutes, it will begin thickening into a custard-like paste.
Continue cooking ~7 more minutes until:
It becomes shiny
It turns stretchy
It pulls away from the sides as a cohesive mass
Total cooking time: ~12-15 minutes depending on heat.
How to Know It's Fully Cooked
It should look translucent, glossy, thick, and elastic — same as steamed mochi.
No wet batter streaks should remain.
If it sticks slightly to the enamel, don’t worry — keep scraping gently and it will release as it thickens.
3. Knead the Mochi
Transfer the hot mochi to a lightly dusted parchment sheet.
Coat hands with coconut oil or tallow.
Fold, stretch, and knead for 5 minutes until uniformly smooth.
4. Prepare the Work Surface
Dust your board or parchment with arrowroot flour.
Flatten or roll the dough to 1/8-inch thickness.
5. Make the Filling
Whip the chilled coconut cream.
Prepare peeled tangerine segments.
Optional honey sweetened mungbeans.
6. Cut & Fill
Cut batter in half.
Fill with whipped coconut cream + ½ segment of tangerine.
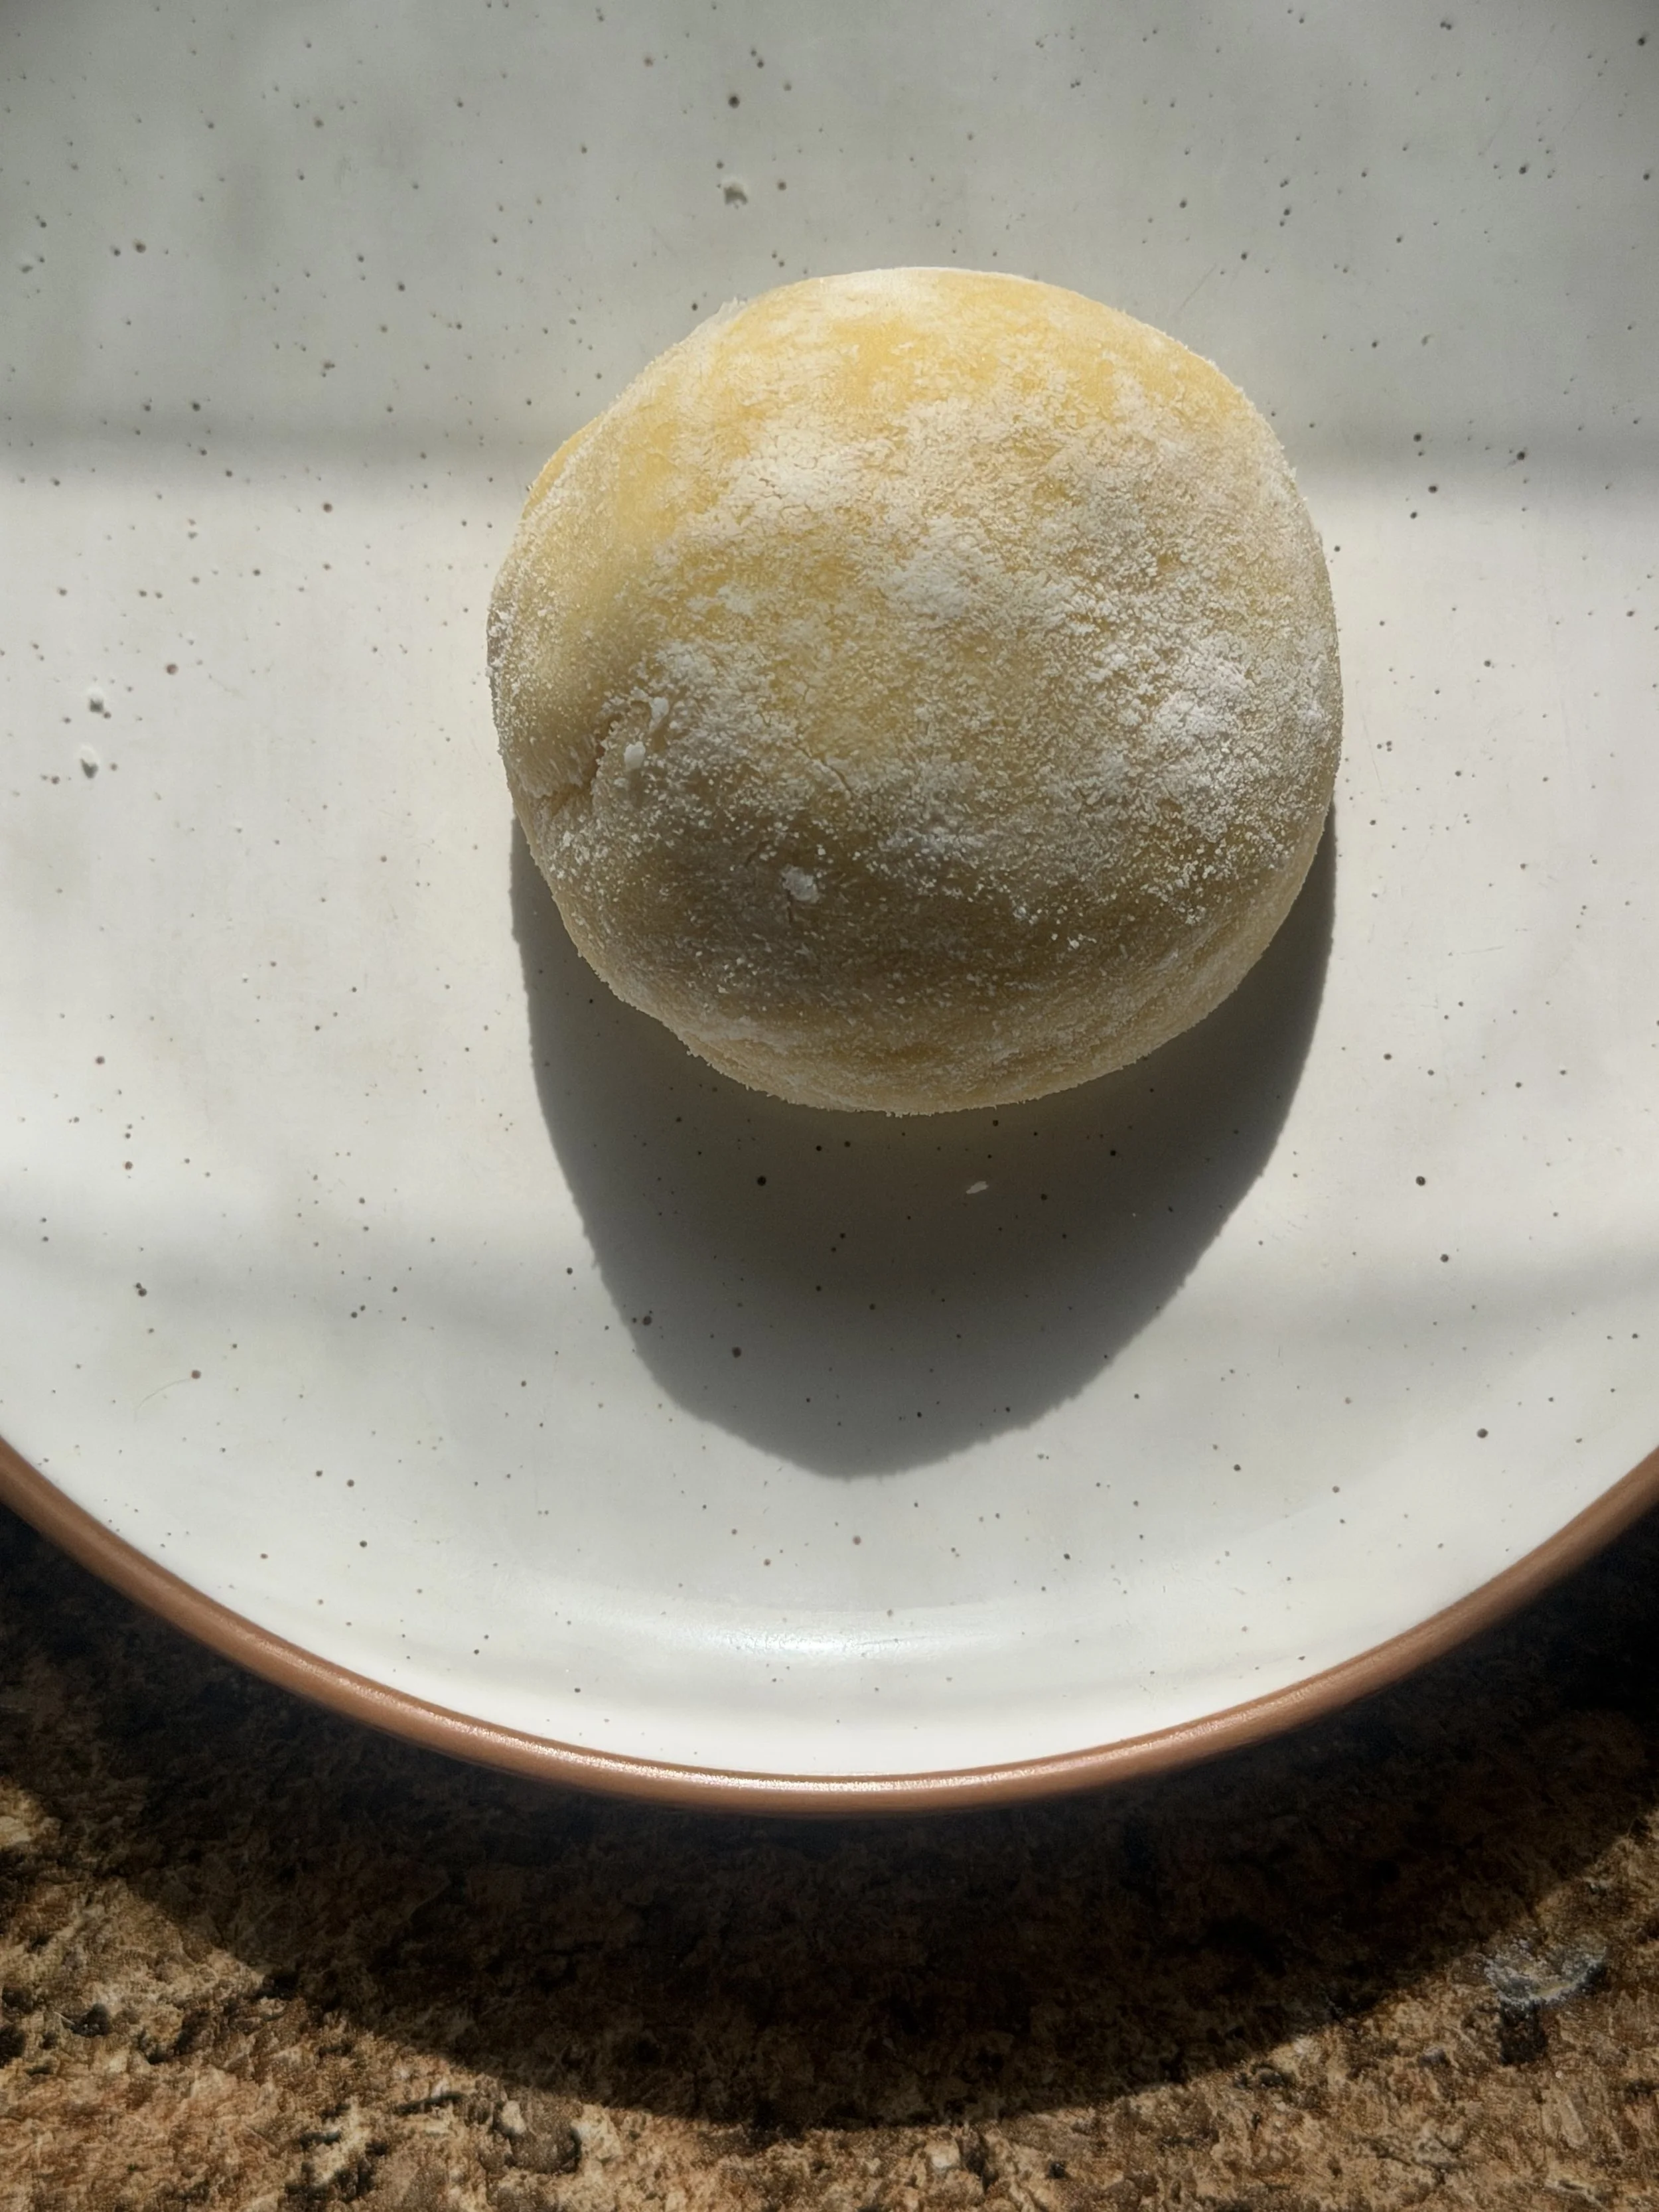
Pull sides together and pinch closed. Roll it into a ball to flatten out the creases.
7. Chill 10 Minutes & Serve
Chill to firm slightly.
Serve cold, soft, creamy, chewy, and naturally bright ♡
Recommended success trick:
If sticking becomes a problem, add ~2 tsp coconut oil to the batter before cooking — this reduces adhesion in enamel pots.
A Note on JUICE

I use this Fresh Squeezed Jeju Tangerine Juice because it is never pasteurized, meaning the vitamin C, enzymes, and antioxidants remain intact. I personally do not support pasteurized juices, as they are nutritionally void and behave more like syrup — especially problematic for anyone managing inflammation, gut imbalance, or skin conditions.
If you’d like to try the same juice I use, you can save $5 USD with code MUMWITHABUN on orders over $49 USD.