Rosé Tteokbokki (My Healthy-ish Take on the Korean Fusion Classic)
Rosé tteokbokki is that perfect Italy-meets-Korea comfort food dish—chewy rice cakes coated in a creamy, mildly spicy sauce that feels intimidating but is totally doable at home.
This is my healthy-ish version: thoughtful swaps, better ingredients, and still so much flavor.
INGREDIENTS
Korean rice cakes (garatteok) cylindrical shape – 1 lb
Salt Only Prosciutto – 3–4 slices, torn
Grass Fed Beef Sausages – 2–3 links (ground beef works too)
Organic Grass-Fed A2 yogurt – ½ cup
Hot filtered water – ½ cup
Homemade Gochujang (Korean red pepper paste) – 1½–2 tbsp ( more if you want extra heat)
Grass-Fed Butter – 1 tbsp
Optional: garlic (minced), enoki mushrooms
Optional Toppings we love
Raw Cheese (Gruyere is our favorite)
Boiled Eggs (look for: Low PUFA, pasture raised)
METHOD
Crisp the prosciutto
Heat a wide pan over medium heat. Add a pat of butter and fry the prosciutto until crispy. Remove and set aside (or just shove it to the side of the pan).Brown the sausages
In the same pan, add the sliced sausages (or just pop them in whole if you’re short on time). Let them get some color and pick up that prosciutto fat flavor. This is key.Do the yogurt move
In a bowl, whisk:½ cup A2 yogurt
½ cup hot water
until smooth and pourable (cream-adjacent consistency because we’re skipping heavy cream).Build the rosé sauce
Lower the heat a bit. Add gochujang directly to the pan with the sausages and stir it around for ~30 seconds so it blooms and darkens slightly.Rice cakes in
Add the tteok straight into the pan. Toss so they’re coated in the gochujang and meat oil.Make it creamy
Pour in the yogurt mixture and stir gently. Let everything simmer 5–8 minutes, stirring occasionally, until:the rice cakes are soft
the sauce turns pink, glossy, and clingy
Finish with prosciutto
Stir the crispy prosciutto back in at the end so it keeps some texture.
Taste / Vibe Check
Add black pepper, chili flakes if you like extra heat, and a splash of water if it got too thick for your liking. Now’s also a great time to add in optional toppings like boiled eggs (if tolerated), perilla leaves for a fresh touch, and raw cheese because… how can you not?! It’s Rosé Tteokbokki!
Rosé Tteokbokki Origin
As a popular Korean fusion dish that immerses chewy rice cakes in a creamy, mildly spicy "rosé" sauce (it’s Italy & Korea in a pan).
While traditional tteokbokki is known for its fiery red gochujang sauce, the rosé version mellows that heat with dairy, creating a rich, silky texture and a distinct pinkish-orange “rosé” tint.
How I Make Rosé Tteokbokki Healthy-ish
The Sauce: Usually it’s a blend of gochujang, milk, and heavy cream. Some versions I like include tomato sauce to mimic Italian-style rosé pasta making it kid-friendly.
Flavor Profile: It is sweet, savory, and creamy. It is significantly less spicy than the original, making it an inclusive "comfort food" and great for those new to Korean cuisine.
Common add-ins I swap: Beyond the cylindrical rice cakes (garae-tteok), it often includes vienna sausages (swap: grass fed beef sausage), bacon (swap: Italian prosciutto), fish cakes, and melted mozzarella cheese (swap: raw gruyere cheese).
Buon Appetito! Feel free to compare my ingredients to store-bought versions below:
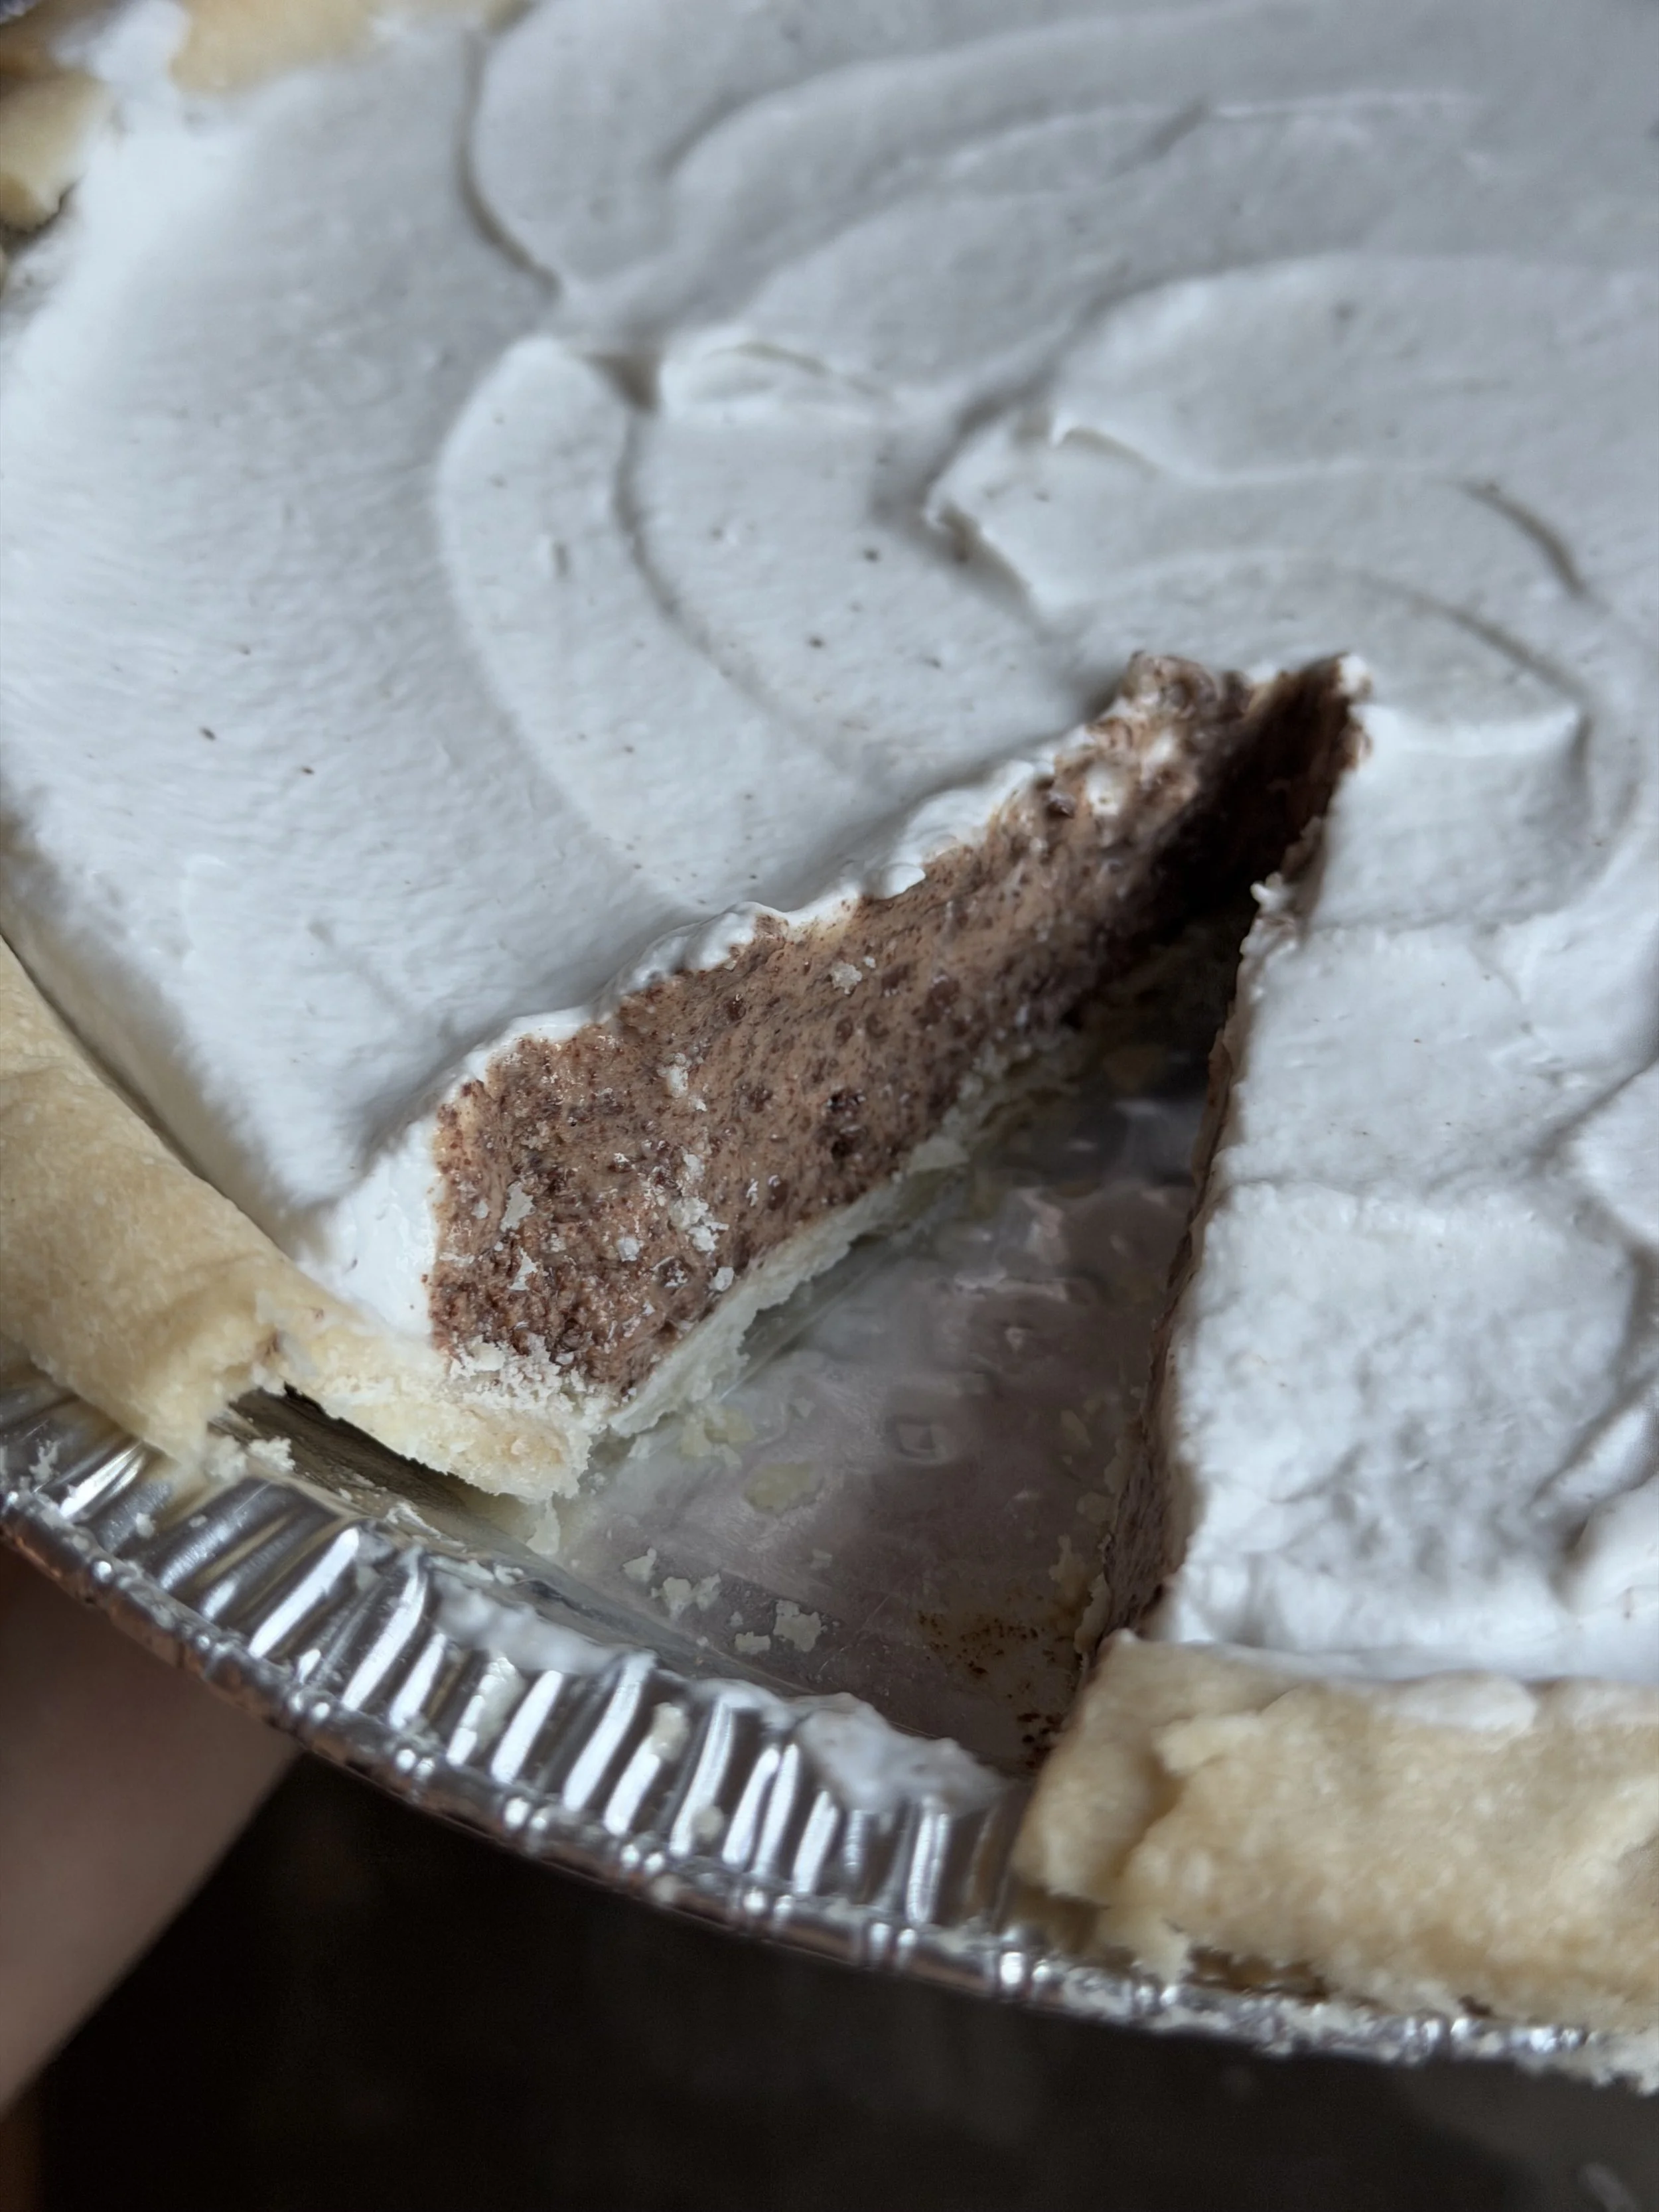
Ultra Creamy Dark Chocolate Coconut Pie (Allergen-Free, Paleo, Kid-Friendly)
A blender-only, 3-ingredient chocolate pie that’s creamy, freezer-friendly, and completely allergen-free. This nourishing dessert is made with coconut cream, pure cacao, and collagen-rich protein for a gut-supportive treat kids actually love.
This ultra-creamy chocolate pie is a dream for anyone needing a gut healthy, top-9 allergen-free, dairy-free, gluten-free, or refined-sugar-free dessert.
Instead of yogurt or cream, this recipe leans on
full-fat coconut cream,
100% pure Criollo cacao wafers, and
a scoop of my favorite gut-lining supporting Be Well By Kelly vanilla grass-fed beef protein, which naturally sweetens (via the organic monk fruit) and thickens the filling (via the naturally occurring collagen).
Everything blends together in under 2 minutes, chills into a rich, chocolate pie, slices cleanly, freezes well & tastes luxurious sans dairy, egg, refined sugar, nuts, soy, or gluten.
It’s the kind of dessert that feels indulgent while staying incredibly simple, clean, and kid-friendly.
Recipe Flavor + Texture Notes
Coconut cream (the thick part from chilled cans) creates a silky, firm mousse texture
100% Criollo cacao wafers add a super deep chocolate flavor - solidifies when cold
Be Well By Kelly grass-fed beef Vanilla protein adds natural sweetness + gentle thickening
Only 1/2 cup of chocolate needed pure cacao is very strong and firms up beautifully
Blender-only — no melting / no baking. Just make sure you serve it cool/straight from the fridge to keep form!
Gluten-free & allergen-free with the Wholly Wholesome GF crust
🥥 INGREDIENTS
For the filling
2 can coconut milk (linked is the only brand I’ve recipe tested with)
Use only the solid, chilled cream top from the full-fat coconut milk can1/2 cup Santa Barbara Chocolate 100% Pure Criollo Cacao Wafers (unsweetened)
This is the brand I use/trust, feel free to use chocolate chips of your choice!1 scoop Be Well By Kelly Vanilla Grass-Fed Beef Protein ($10 code MUMWITHABUN)
Truly clean, collagen-rich, like bone broth, it’s gently derived with heat & water only (no chemicals used) — just 3 ingredients: grass fed beef protein, organic vanilla, and organic monk fruit — adds sweetness & thickness.
For the crust
Optional toppings
Coconut whipped cream
Drizzle of Raw Honey
Fresh strawberries
Strawberry jam drizzle
METHOD
1. Prep the Coconut Cream
Chill 2 cans of full-fat coconut milk overnight.
Scoop out the solid white cream (sits on the top of the can); save the liquid for something else!
Measure ~1 cup of coconut cream.
2. Blender up Protein + Cream (No Clumps)
To prevent protein clumping:
Add ½ cup coconut cream + 1 scoop this protein powder to the blender.
Blend 10-20 seconds until smooth.
3. Add Remaining Ingredients
To the blender, add:
Remaining 1/2 cup coconut cream
1/2 cup cacao chips (unmelted)
4. Blend Until Silky Smooth
Start on low speed, increase to high.
Blend 60-90 seconds, scraping down the sides if needed.
The mixture should be glossy and loose-pudding-like. If you like small chunks of chocolate chips to chew on, blend for <60 seconds.
5. Fill the Pie Crust
Pour the chocolate filling into the crust.
Smooth the top with a spatula.
6. Chill to Set
Refrigerate at least 4 hours until firm and sliceable.
Overnight creates the thickest, richest texture.
7. Add Optional Toppings
Coconut whipped cream (whip coconut cream until fluffy and layer on top with a flat spatula)
Fresh berries or strawberry jam
Cocoa nibs
🍫 A Sweetened Option
A Sweetened Version
Follow the above method/ingredients and add
1–2 tbsp honey or maple syrup blended into the filling or drizzled on top.
Tips for Perfect Texture
Serve CHILLED.
Use only coconut cream, not the watery liquid in the coconut can.
Blend the protein first so it dissolves smoothly
Chill at least 3 hours, 4 is even better.
Storage + Freshness Tips
Refrigerator:
Store covered in the fridge for 4–5 days
Best texture when served cold and freshly sliced
Coconut cream + cacao firm naturally when chilled
Freezer (Whole Pie):
Freeze tightly wrapped for up to 2 months
Thaw overnight in the fridge for a soft, mousse-like slice
Or enjoy straight from the freezer for that firmer, ice-cream-bar texture!
Freezer (Sliced — My Favorite Option):
Slice fully set pie and freeze slices individually
Store slices in an airtight container or freezer bag
Keeps well for 2–3 months
Remove one slice at a time — no full thaw needed
Texture stays creamy, not icy, thanks to the coconut fat + cacao
Mum Tip:
This is one of my favorite desserts to keep stocked. I freeze slices so my child can take a piece to birthday parties, celebrations, or for those “just because” dessert moments — it’s a treat that feels special but still supports her body.
Bon Appétit!
This ultra-creamy dark chocolate coconut pie is a simple, nourishing dessert made for families navigating gut healing, food allergies, or clean eating — without sacrificing texture or flavor. It’s dairy-free, gluten-free, refined sugar-free, top-9 allergen-free, and made entirely in a blender with just 3 core ingredients. The result is a rich, mousse-like chocolate pie that slices cleanly, freezes beautifully, and tastes indulgent while quietly supporting gut health.
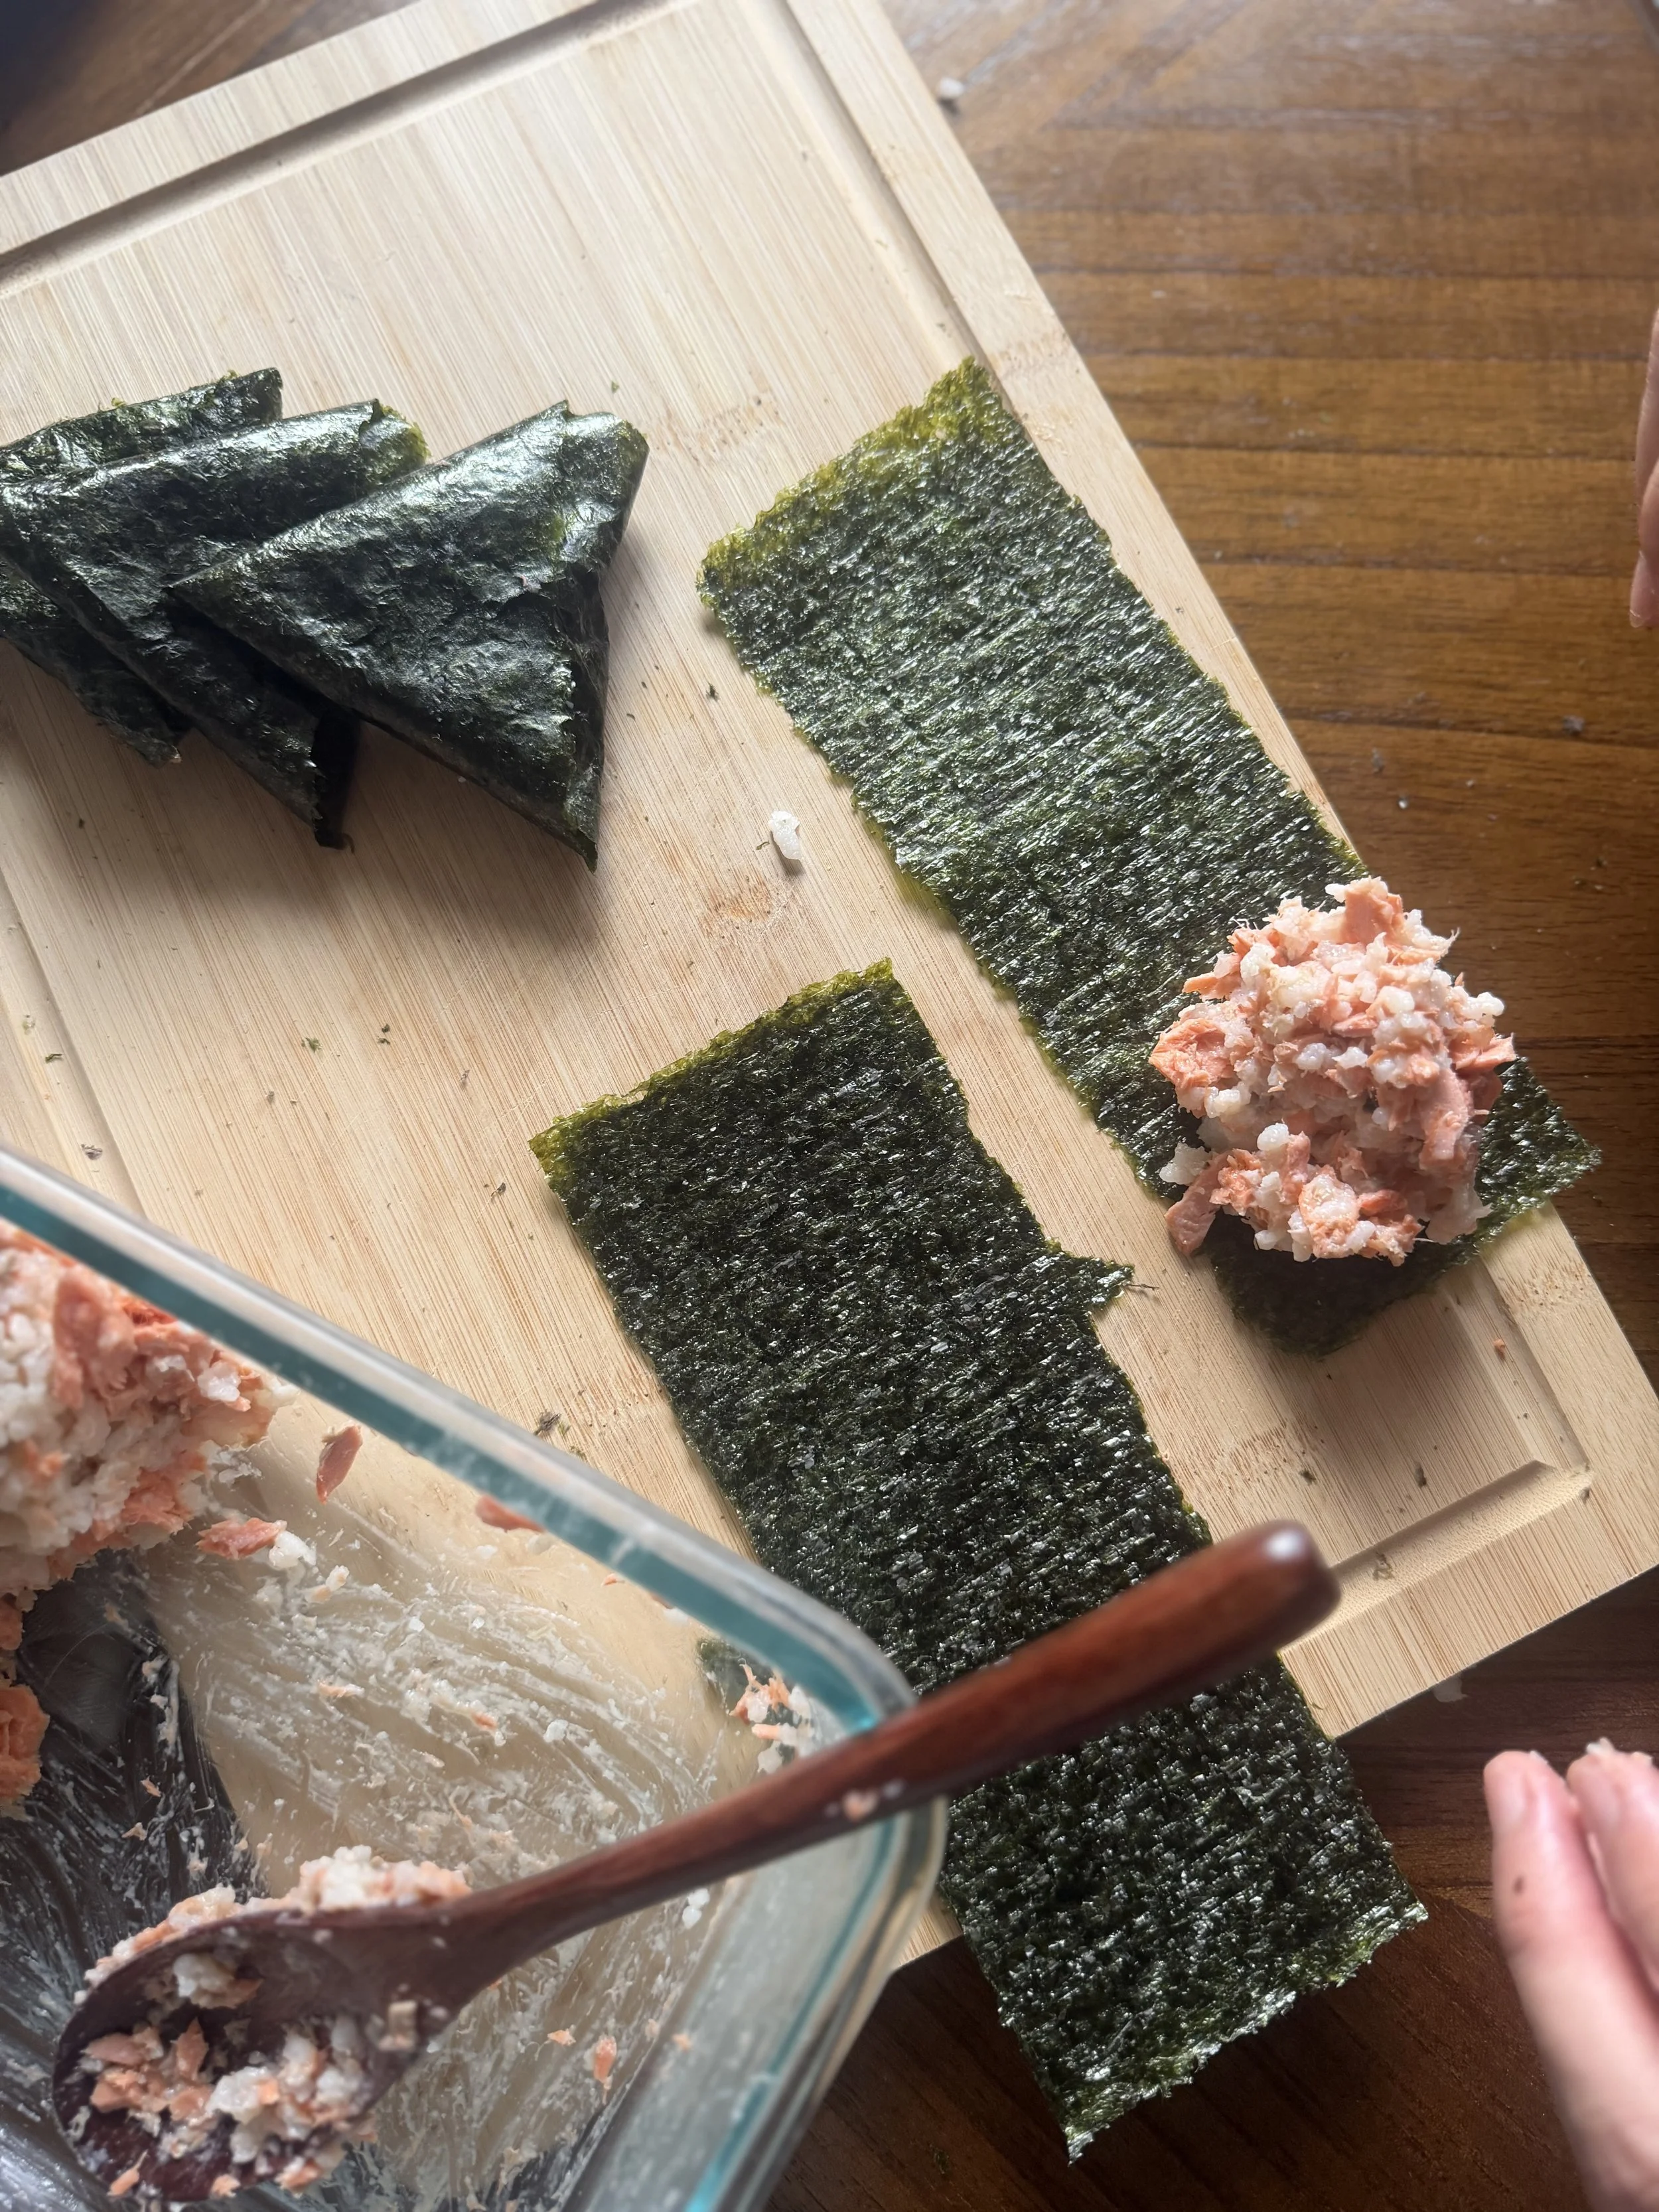
Gut-Healthy Coconut Sticky Rice Samgak Triangle Kimbap (Protein-Packed & Kid-Approved)
These gut-healthy Korean-inspired samgak (triangle) kimbap are subtly sweet, deeply satisfying, and made with real, gut healthy, intentional ingredients. They’re a staple in our home right now—my kids are obsessed, we’re hitting our protein needs, and no one’s riding the sugar-high rollercoaster later in the day.
I thought triangle kimbap 🍙...
required a triangle tool, special plastic wrappers, and professional kitchen skills.
I was so wrong.
If you told me vanilla coconut sticky rice would pair beautifully with salmon and seaweed, I might’ve raised an eyebrow… but after one bite, I was completely sold.
These gut-healthy Korean-inspired samgak (triangle) kimbap are subtly sweet, deeply satisfying, and made with real, intentional ingredients. They’re a staple in our home right now—my kids are obsessed, we’re hitting our protein needs, and no one’s riding the sugar-high rollercoaster later in the day.
Unlike store-bought kimbap or sushi rice (often sweetened with refined sugar and gluten-containing additives), this version uses soaked & soured rice, creamy coconut milk, and a touch of monk fruit–sweetened vanilla protein for balance, satiety, and digestion.
Fresh ingredients. Wild fish. Thoughtfully prepared rice.
Food that loves your bac. (Your good gut bugs)🤍
Why You’ll Love This 🍙
Gut-friendly: soaked, soured, and cooled rice for easier digestion & nutrient availability
Naturally sweetened: no refined sugar, no gums, no fillers - just a touch of crushed organic monkfruit
High-protein & satiating: keeps energy, blood glucose and mood steady
Family-approved: littles + adults genuinely excited to eat (gets soft for little teeth if you let it sit a few minutes)
Great for brain, skin & energy support littles + adults love this for on the go meals. Super lunchbox friendly 🍙
Coconut Sticky Rice (Made with Broth for Extra Nourishment)
Servings: 4-5
Ingredients
1½ cups basmati or jasmine rice, soaked, soured & well-rinsed
1 can 100% full-fat coconut milk or coconut cream
(Check the label—no gums, preservatives, or fillers)
1¾ cups high-quality broth (water works if you don’t have broth on hand!)
(Chicken or veggie broth both work beautifully; refill the coconut milk can to measure)
1 scoop Vanilla Grass-Fed Beef Protein
Option A: Be Well by Kelly Vanilla Grass-Fed Beef Protein
Code: MUMWITHABUN for $10 off
This I recommend for those trying to maximize their collagen intake as there is quite a bit of collagen per scoop (contains approximately 16g per scoop)
Option B: Equip Foods Vanilla Grass-Fed Beef Protein
Code: MUMWITHABUN will get you savings.
This one has some naturally occurring collagen - roughly half as much as Be Well by Kelly’s. I recommend Equip’s for those aiming for moderate collagen intake (better for those dealing with gout, calcification stones, etc).
1 tsp sea salt
How to Cook the Coconut Sticky Rice
In a saucepan with a lid, combine:
soaked/soured & rinsed rice
Soak & Sour: Fully submerge rice in filtered water w/ 1-2 tbsp ACV for 12 hrs.)
coconut milk
homemade broth (recipe & discount on grass-fed/finished bones I use linked — OK to use water, if preferred)
vanilla grass-fed protein
sea salt
Bring to a boil over high heat, stirring occasionally.
Reduce to a gentle simmer, cover, and cook until liquid is absorbed and rice is tender (about 20 minutes).
Remove from heat, fluff with a fork, cover again, and allow to cool.
Cooling your rice after cooking supports better digestion and metabolic health—this step matters. ✨
Salmon & Assembly (Samgak-Style)
You’ll Need
4 wild-caught salmon fillets, baked or air-fried
air-fried: 420°F for 20 minutes (they’ll naturally flake apart)
baked: 420°F for 40 minutes
Organic raw seaweed sheets (I love Gimme)
Cut each sheet into thirds lengthwise
How to Assemble
Mix the rice with salmon filets (salmon will flake apart in the mixing process)
Place a scoop of coconut sticky rice with flaked salmon onto the seaweed.
Shape gently into triangles.
Wrap just before eating for the perfect texture.
My husband wraps. I cook the ingredients. The kids hover impatiently.
Teamwork at its finest. 🤍
Note on Ingredient Quality
Rice: be sure it’s tested for heavy metals & is preferably organic
100% Coconut milk: Pure, filler-free only
Wild Salmon: be sure it’s wild (farmed varieties include dye, unnatural feed, contaminants, and antibiotic residues that impact human health as we consume antibiotics/contaminants used on the fish and their feed)
Salt: Maldon or other quality sea salt
Grass fed Vanilla Protein Powder: chemical free grass fed beef protein is a non-negotiable quality for us. each ingredient is high quality. 3 ingredients only: grass fed & finished beef protein, real organic vanilla, organic monkfruit (yes, it’s just the fruit!)
Note: I’m an affiliate of Be Well by Kelly, but I only share what I truly use and love for my family. This protein is collagen-rich, chemical-free, and derived the way bone-broth is; using heat & water only - it’s ultra-clean, and a staple in our gut-healing kitchen—especially helpful for families navigating eczema, allergies or elimination journeys.
If we normalize food that supports digestion, energy, and satisfaction—without deprivation—we can change everything including the long term health of our bodies.
Let’s make gut-healthy eating the norm. 🤍